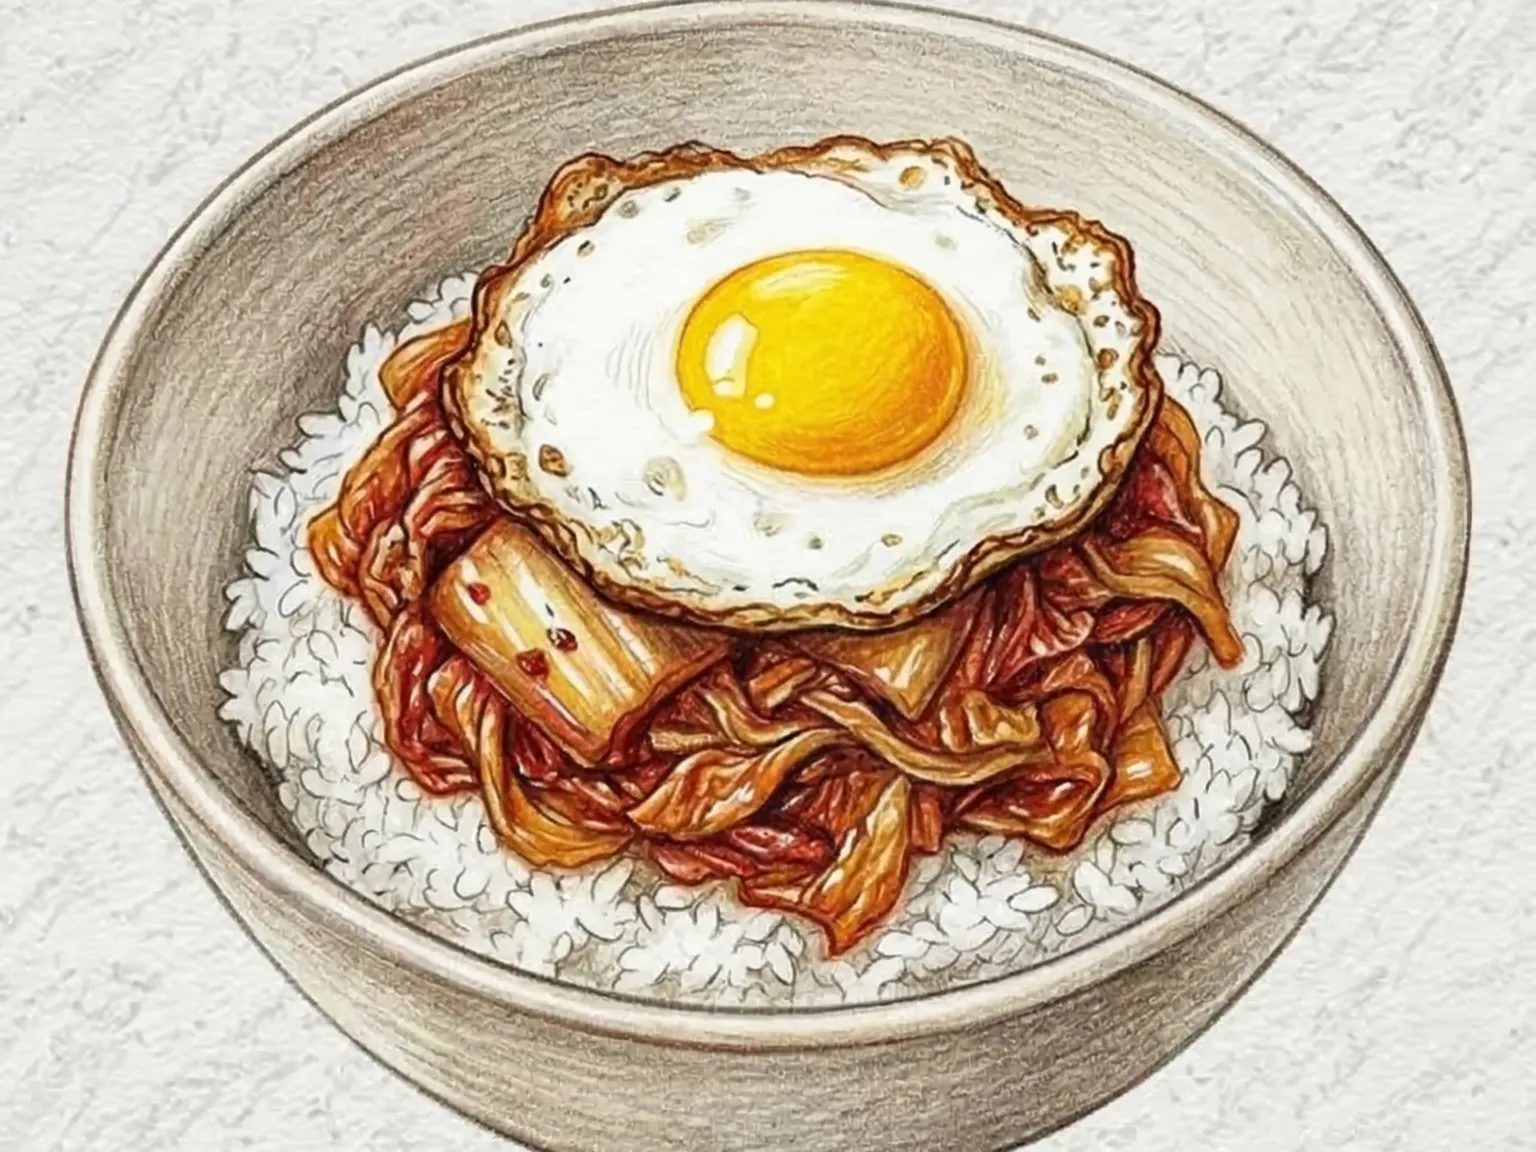
Korean Kimchi Rice Bowl (Stir-Fried Aged Kimchi over Steamed Rice)
Quick answer
- Total time
- 15 min
- Level
- Easy
- Servings
- 1 serving
- Ingredients
- 5
About this dish
Five minutes in a hot pan turns sour, wet kimchi into something sweeter and more savory, as the moisture cooks off and the edges darken.
Read more
The pan has to be hot enough that the kimchi sizzles on contact; otherwise it steams in its own liquid.
Ingredients
Instructions
- 1
Cut 150 g of kimchi into bite-size pieces if needed, and set aside excess liquid if it looks very wet.
Keep 1 bowl of cooked rice warm so the topping can go on while hot.
- 2
Coat the pan lightly with oil and heat it well over medium-high heat.
The pan is ready when the kimchi sizzles immediately on contact, which helps drive off moisture instead of steaming it.
- 3
Add the kimchi and stir-fry for about 5 minutes to remove moisture.
Stir often until the edges darken slightly, the sharp sour smell softens, and the pieces look glossy rather than watery.
- 4
Pour 1 teaspoon soy sauce around the edge of the pan and let it bubble briefly.
Lower the heat, add 1 teaspoon sesame oil, and stir just enough to keep the nutty aroma from burning.
- 5
Fry 1 egg in another pan or in a clear space in the same pan.
Cook until the white is set, then leave the yolk runny or firmer according to preference.
- 6
Spread the stir-fried kimchi over the warm rice and place the fried egg on top.
If the kimchi tastes too salty, mix it with the rice first so the seasoning spreads evenly.
Use-up ingredient planner
Turn these ingredients into two more meals
The overlap excludes basic seasonings. Open the next recipe and your selected dishes will stay with you.
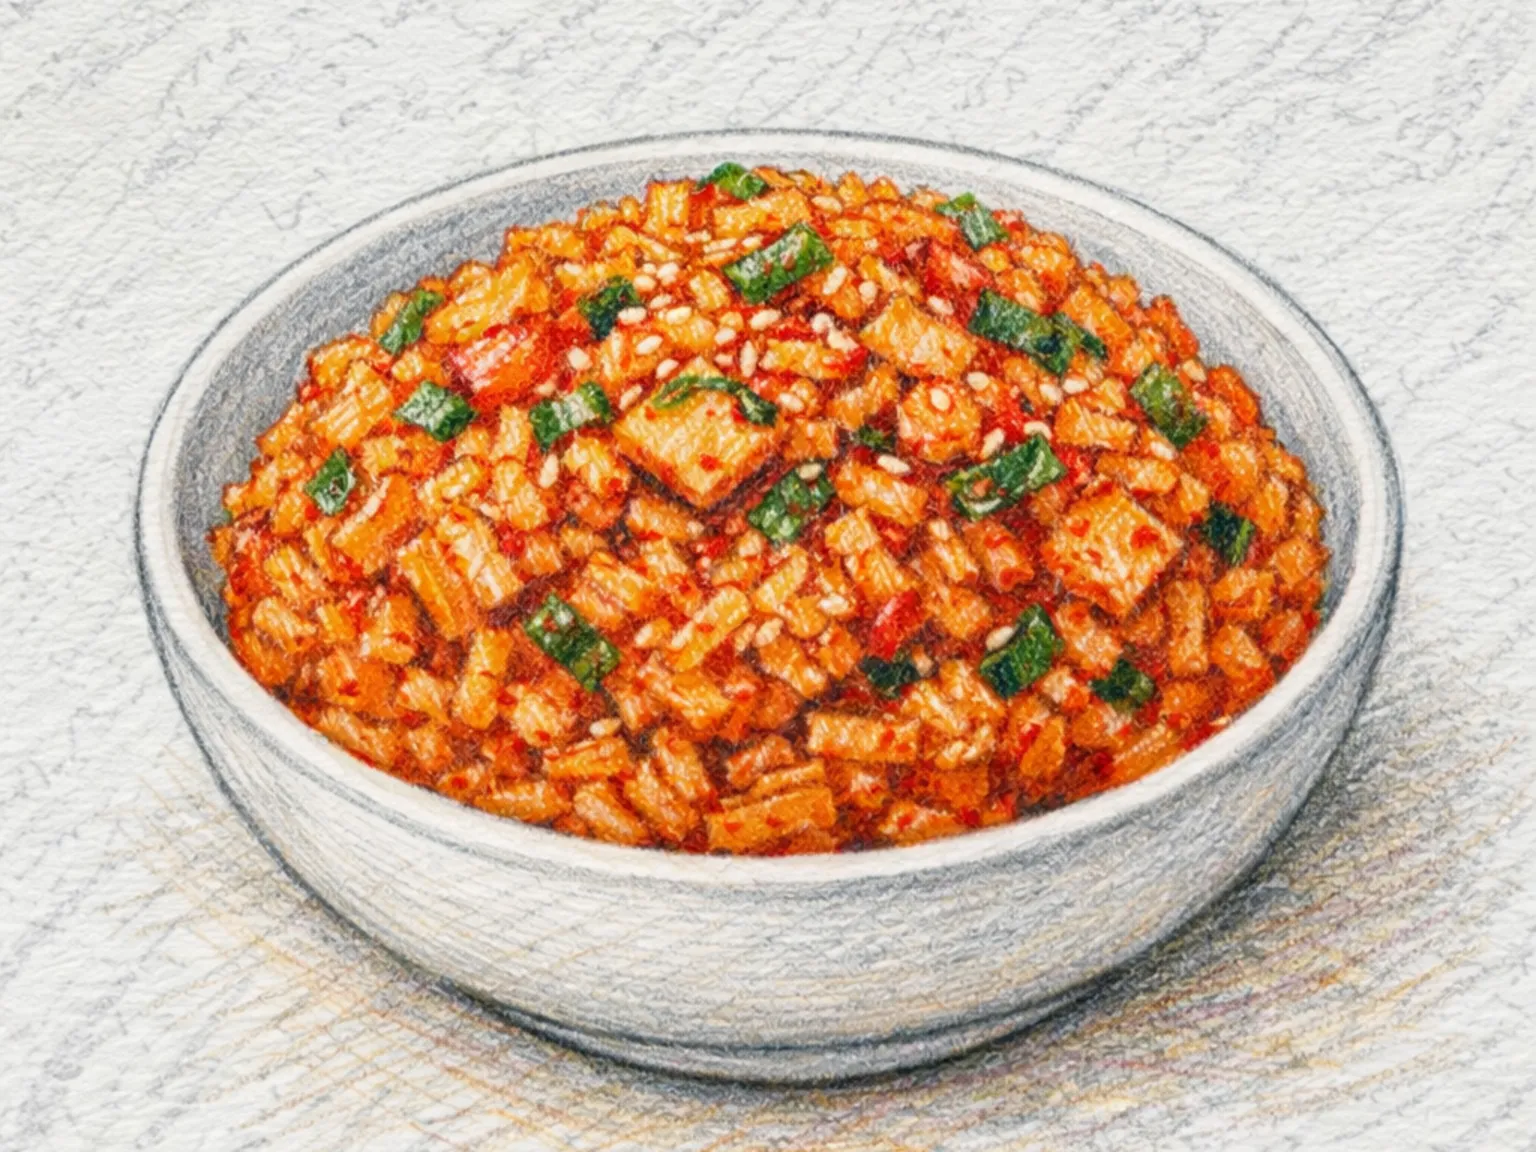
Korean Bunsik Kimchi Bokkeumbap (Kimchi Fried Rice)
Kimchi (preferably aged), Cooked rice
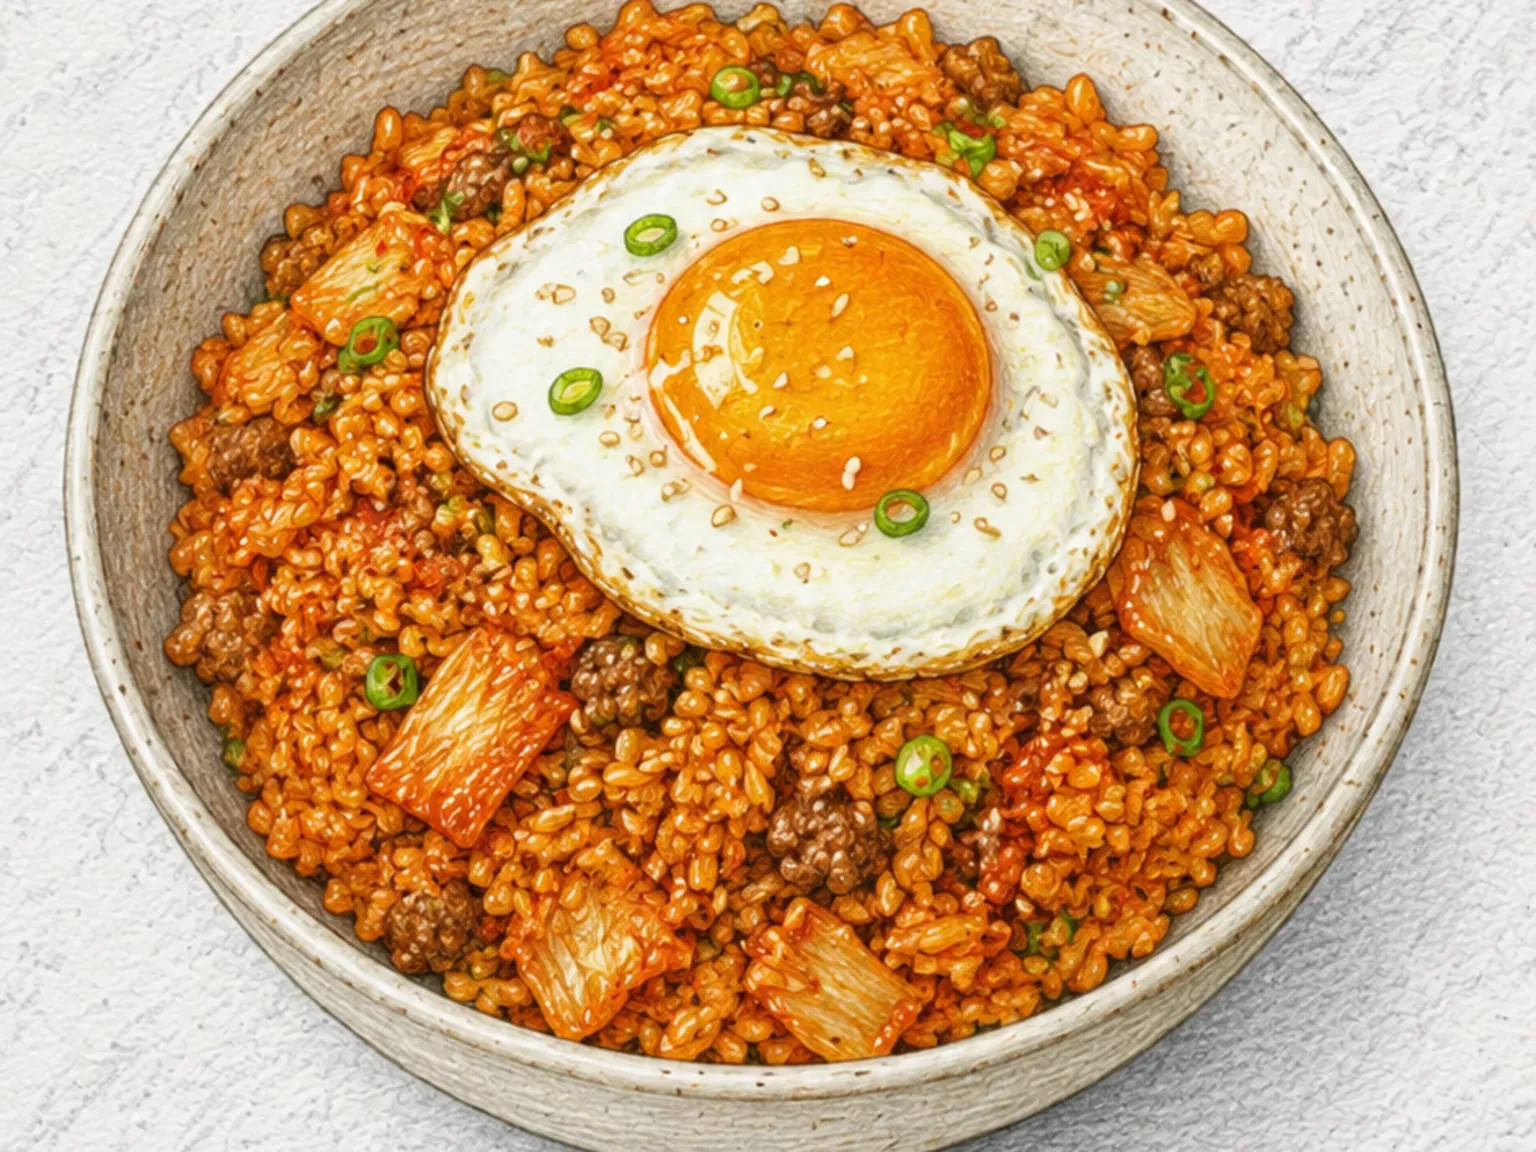
Korean Kimchi Fried Rice (Kimchi Bokkeumbap)
Kimchi (preferably aged), Cooked rice
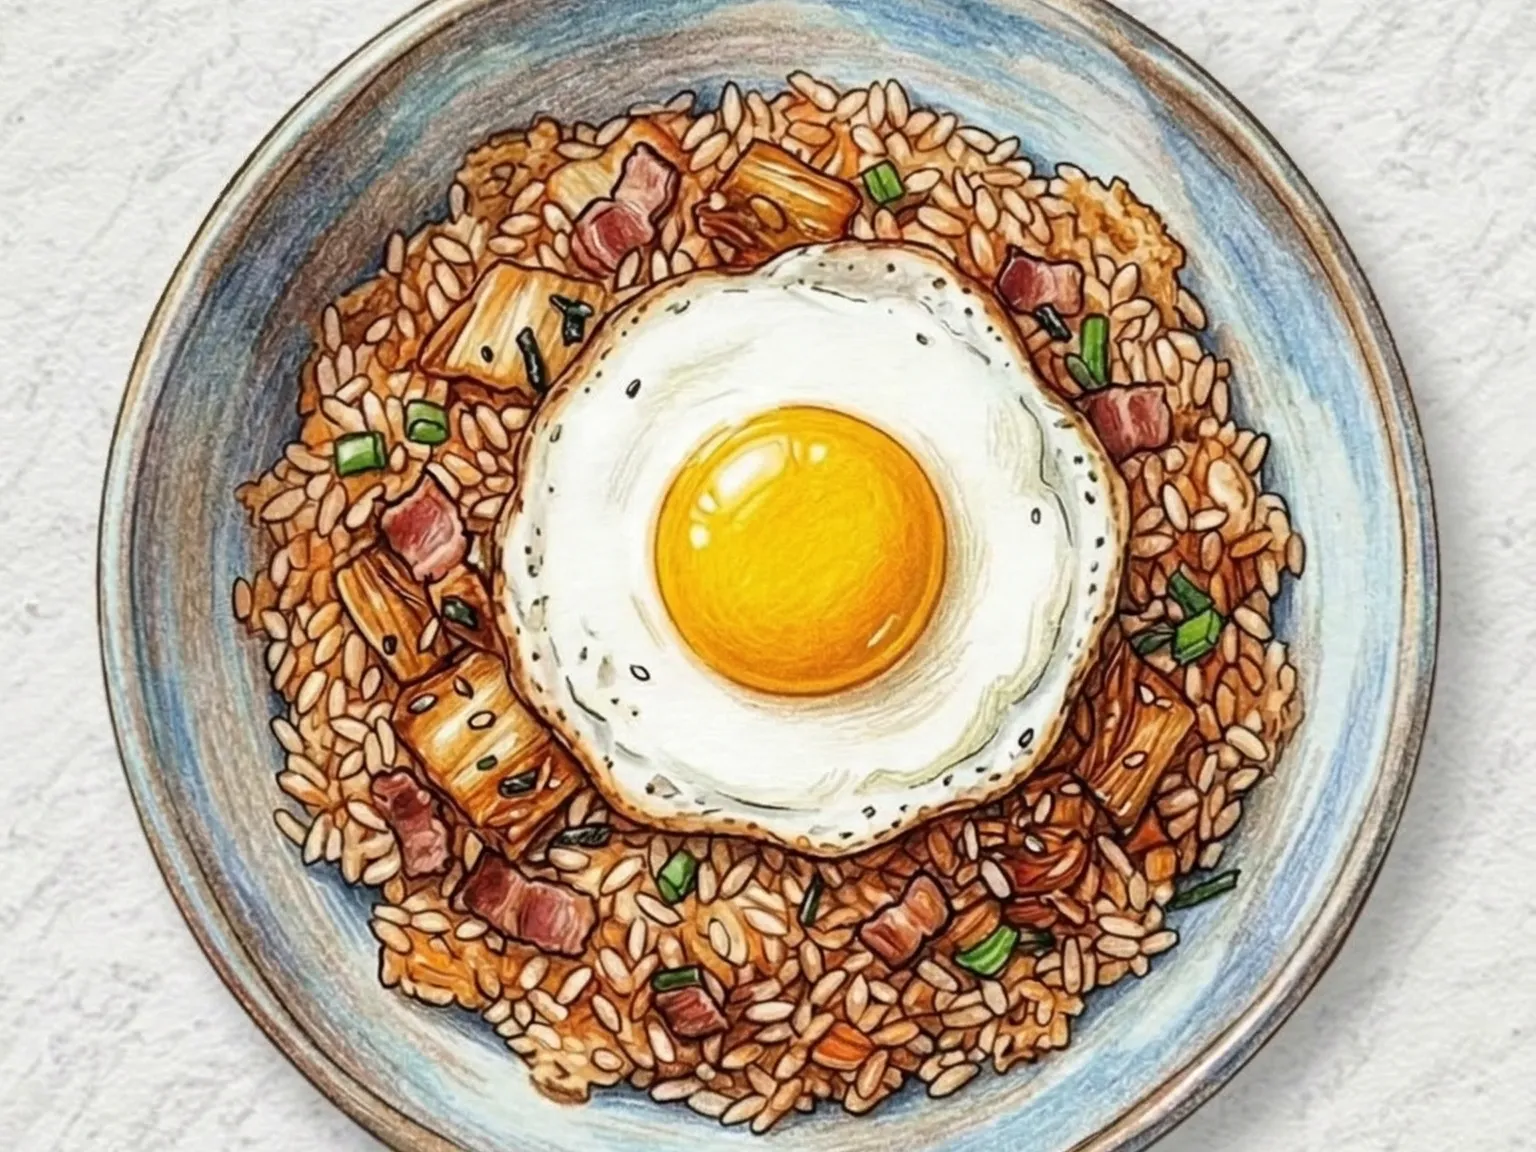
Korean Bacon Kimchi Fried Rice
Kimchi (preferably aged), Cooked rice