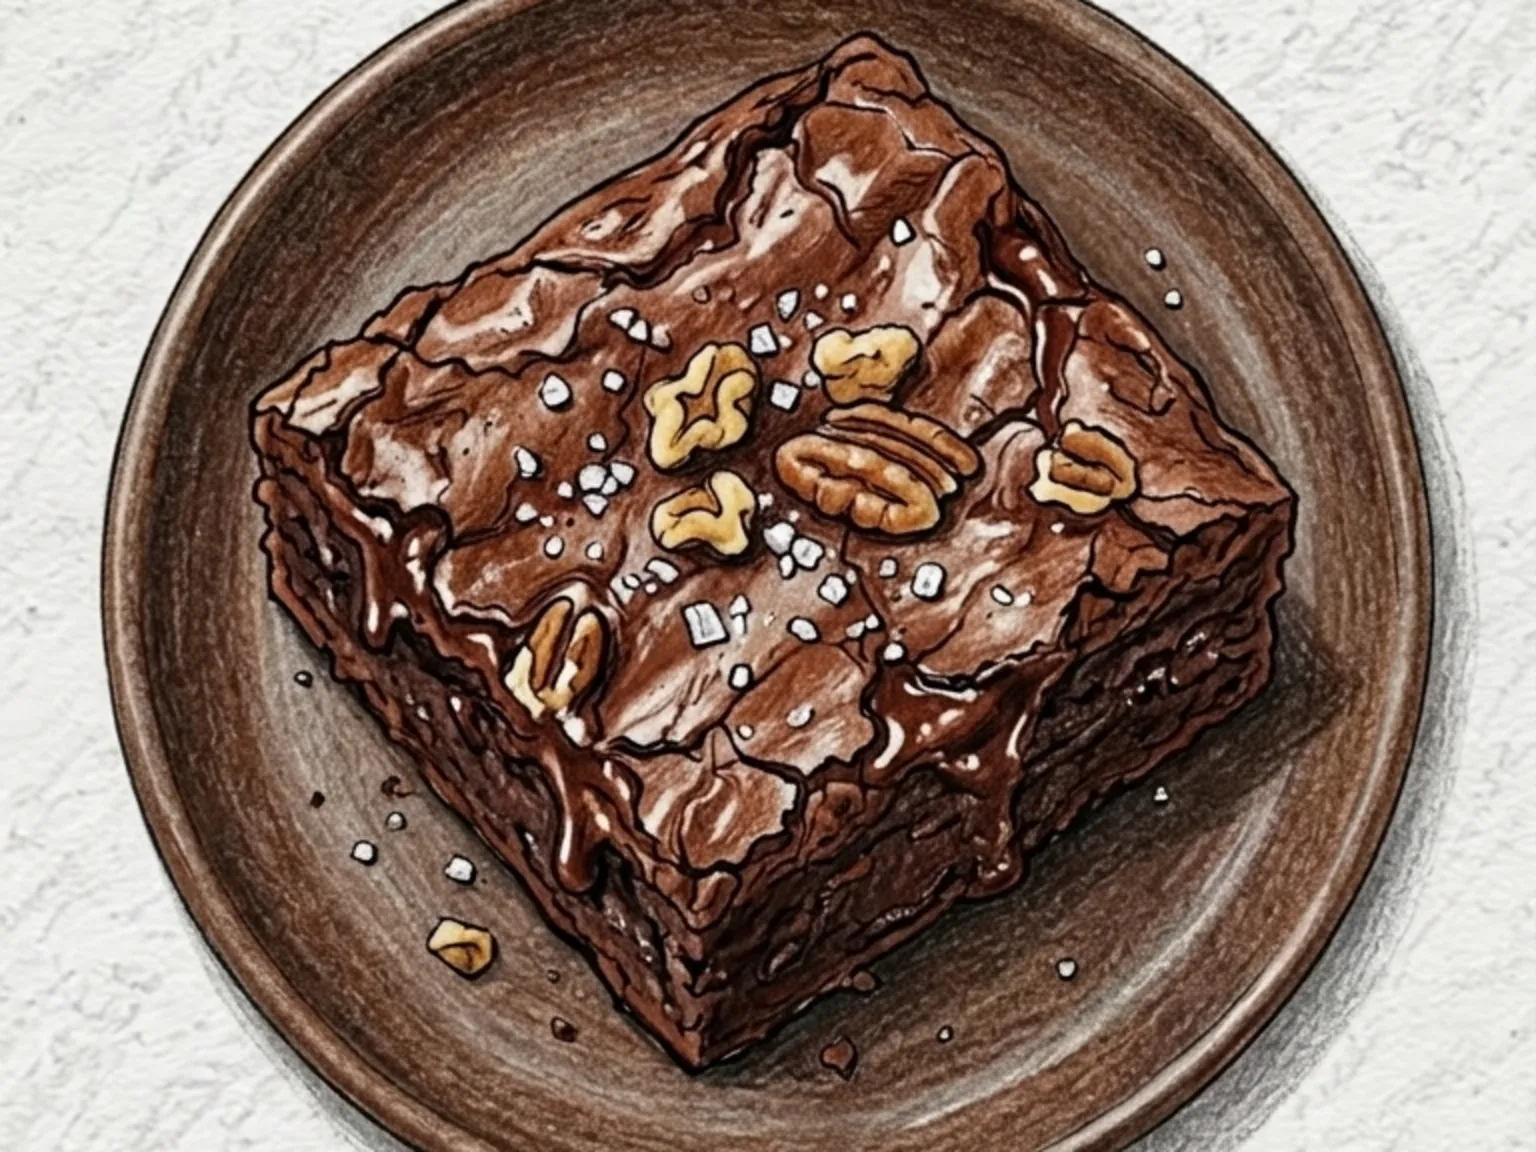
Fudgy Brownies
Quick answer
A fudgy brownie delivers dense, moist chocolate intensity in every bite, distinguishing itself from cake-style brownies through a higher ratio of butter and chocolate to flour.
What makes this special
- A higher chocolate-to-flour ratio pulls Fudgy Brownies toward dense, bittersweet intensity.
- Minimal flour with 170g butter and 180g chocolate sets the fudgy texture
- Pulling at 175°C when the center is still slightly moist makes it chewy as it cools
Key ingredients
Core cooking flow
- 1 Preheat the oven fully to 175C and line a 20 cm square pan with parchment.
- 2 Melt 170 g unsalted butter with 180 g dark chocolate over gentle heat or in short microwave bursts.
- 3 Whisk in 220 g sugar until the chocolate mixture looks glossy, then add the 3 eggs one at a time.
A fudgy brownie delivers dense, moist chocolate intensity in every bite, distinguishing itself from cake-style brownies through a higher ratio of butter and chocolate to flour. Melting chocolate and butter together before folding in sugar and eggs produces a glossy, pourable batter that bakes into a thin crust on top while the interior stays rich and slightly underdone. Pulling the pan from the oven just before the center fully sets is critical: as the brownie cools, that center sinks into a chewy, truffle-like layer. Using dark chocolate with a high cacao percentage shifts the flavor toward bittersweet depth rather than simple sweetness. A scattering of flaky sea salt on top before baking creates a sweet-salty contrast that amplifies the chocolate. Walnuts or pecans folded into the batter introduce crunch amid the dense crumb. Cutting clean squares requires patience, as the texture firms only after the brownie has cooled completely.
Instructions
Read the steps as a cooking flow: prep, heat, seasoning, doneness control, and finish.
- 1Step
Preheat the oven fully to 175C and line a 20 cm square pan with parchment.
Press the paper into the corners and leave slight overhangs so the dense brownie lifts out cleanly after cooling.
- 2Season
Melt 170 g unsalted butter with 180 g dark chocolate over gentle heat or in short microwave bursts.
Stir often, stop when smooth, and let it cool briefly so the eggs do not scramble.
- 3Season
Whisk in 220 g sugar until the chocolate mixture looks glossy, then add the 3 eggs one at a time.
Beat well after each egg so the batter stays smooth instead of splitting.
- 4Season
Add 5 ml vanilla, then sift in 95 g cake flour, 25 g cocoa powder, and 2 g salt.
Fold only until no dry streaks remain, because overmixing makes the brownie cakier.
- 5Heat
Pour the batter into the prepared pan and spread it evenly into every corner with a spatula.
Level the surface, then bake at 175C for 26-30 minutes until a thin crust forms.
- 6Prep
Remove the pan when a tester inserted in the center comes out with moist crumbs, not wet batter.
Cool completely in the pan, then cut into 12 pieces with a warmed knife for clean edges.
After the steps
Pick a recipe that fits this dish.
Continue with shared ingredients, meal pairings, or a similar method.
Recipes That Go Well With This
More Baking →Based on shared ingredients and meal pairing
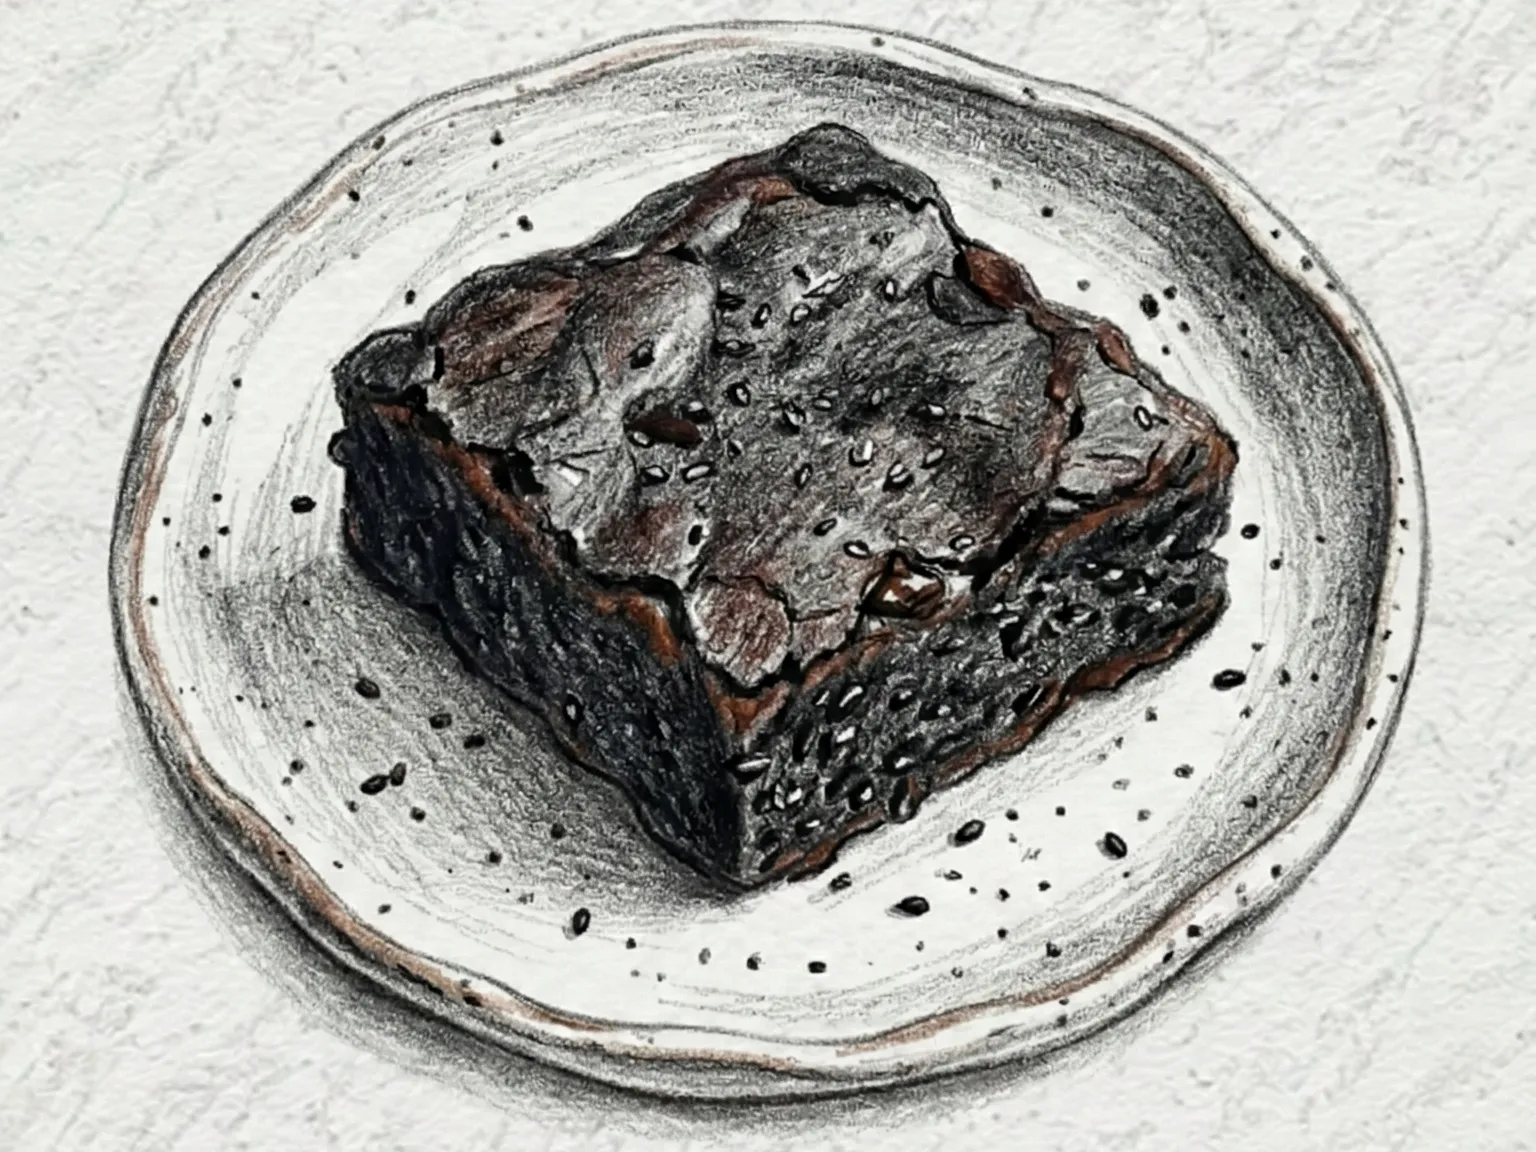
Black Sesame Brownies
Black sesame brownies are built on a base of dark chocolate and butter melted together over a double boiler, with roasted black sesame powder sifted in before folding. The bitter edge of the chocolate meets the toasted, grain-like aroma of the sesame, adding a nutty depth that standard brownies lack. The cake flour ratio is kept low to produce a fudgy, dense center that stays slightly underdone-looking even after the full bake at 175 degrees Celsius for twenty to twenty-five minutes. Because black sesame powder is naturally oily and prone to clumping, it must be sifted together with the flour and salt before going into the batter - skipping this step leaves uneven pockets of undistributed sesame. Pull them from the oven with a faint wobble at the center, and the residual heat finishes the interior as the pan cools. Wait until fully cool before cutting for clean edges.
Chocolate Lava Cake
Chocolate lava cake bakes a batter of melted dark chocolate, butter, whole eggs, egg yolks, sugar, and a small measure of flour in buttered ramekins at 220 degrees Celsius for ten to twelve minutes, producing a set crust and molten center from a single brief baking window. The high oven temperature firms the outside and top of the batter into cake while the core stays liquid, so breaking the surface with a spoon releases a slow pour of concentrated warm chocolate. High-cacao dark chocolate provides a complex, bittersweet depth that pairs with the richness of butter fat, and vanilla extract softens and rounds the overall aroma. Timing controls everything in this recipe: overbaking by even two minutes sets the center solid and destroys the signature flow. The edges of each ramekin should feel just firm when pressed lightly through a towel at the ten-minute mark. Ramekins can be filled ahead and refrigerated, but the baking time then needs an extra one to two minutes to account for the colder starting temperature. Serving with a scoop of vanilla ice cream or a spoonful of cold heavy cream creates a striking contrast between the hot, dense chocolate interior and the chilled, lighter dairy.
Real Pineapple Sherbet
A refreshing and cool fruit sherbet dessert made inside a hollowed-out pineapple.
Mugwort Cream Cheese Brownies
Dark chocolate brownie batter is swirled with a ribbon of cream cheese and infused with dried mugwort powder, creating a dessert that is earthy, bitter, and tangy in equal measure. The mugwort lends a grassy, herbal undertone that complements the intensity of dark chocolate rather than competing with it. Cream cheese marbled through the top provides pockets of cool acidity that cut through the richness. When sliced, each piece reveals a green-and-white marble pattern against the deep brown chocolate. Baked to a fudgy consistency, these brownies grow even more intense when chilled overnight. In spring, fresh blanched mugwort can replace the powder for a brighter, more vegetal fragrance.
Serve with this
Monte Cristo Sandwich
A Monte Cristo sandwich consists of multiple layers of ham and Swiss cheese placed between slices of bread that have been spread with a layer of Dijon mustard. After the sandwich has been assembled, it is dipped for a short period of time into a batter made from a combination of beaten eggs and milk. The sandwich is then transferred to a pan and fried in butter until the exterior develops a golden color on both sides. This preparation method blends the traditional elements of French toast with those of a standard ham and cheese sandwich by surrounding savory interior fillings with a rich and egg based coating. It is necessary to keep the dipping stage brief because allowing the bread to soak for an extended duration will cause it to become overly saturated, which typically leads to the bread tearing when the sandwich is flipped. Cooking the sandwich over medium low heat ensures that the outside has sufficient time to reach a golden and crisp state while the cheese inside the layers melts in a consistent manner. Dividing the sandwich into two halves while it is still warm serves to display the stretchy consistency of the melted cheese and creates a visual presentation for the finished meal. The addition of mustard introduces a sharp taste that functions to balance the rich characteristics of the eggs and dairy ingredients.
Fruit Yogurt Salad
Apple, banana, strawberry, and blueberry are cut into bite-sized pieces and folded into plain yogurt for a fruit salad where the dressing serves as background rather than centerpiece. The yogurt provides gentle acidity that anchors the sweetness of the fruit without overwhelming it. Honey softens the sharper edge of the yogurt, and a squeeze of lemon juice does double duty: it slows the browning of cut apple and banana while leaving a clean citrus note on the finish. Roughly chopped walnuts scattered over the top introduce a crunchy, slightly bitter contrast to the soft fruit and smooth yogurt, breaking the monotony of texture. Swapping in seasonal fruit makes the recipe adaptable year-round without adjusting the base formula - peaches and melon in summer, persimmon and pear in autumn all work within the same yogurt, honey, and lemon framework. Light enough for a morning meal and refreshing enough after a heavy dinner, it sits comfortably in either role.
Citrus Espresso Tonic with Orange
Espresso tonic is a carbonated coffee drink built by slowly pouring espresso over chilled tonic water to form two distinct layers. The tonic must be thoroughly cold to maintain stable carbonation throughout; cooling the espresso for about thirty seconds before pouring it over a spoon produces a clean separation between the two liquids. The quinine bitterness in the tonic water meets the espresso's roast bitterness, creating a balanced interplay rather than one-note sharpness. Orange slices and lemon peel garnish the glass, releasing citrus oils that rise with the bubbles. Specialty espresso with pronounced fruit acidity works particularly well here, harmonizing with the tonic's effervescence and lending natural sweetness without added sugar. Pre-chilling the glass with ice before adding the tonic helps preserve carbonation. The drink gained popularity in Scandinavian coffee culture during the 2010s before spreading worldwide.
Similar recipes
Black Sesame Fudge Brownies
Black sesame fudge brownies layer the roasted nuttiness of black sesame over the bittersweet depth of dark chocolate in a dense, compact bar. Melted chocolate and butter form the rich, fatty base of the batter, and black sesame paste is worked in to add an earthy, faintly smoky dimension that dark chocolate alone cannot provide. Cocoa powder reinforces both the color and the intensity of the chocolate, while keeping the flour ratio low ensures the baked brownie stays fudgy and tight rather than turning cakey or dry. The first bite delivers chocolate sweetness, and the roasted sesame follows with a lingering, slightly bitter aftertaste. Cooling the brownies increases their density noticeably, making each piece substantial in the hand and on the palate. Served alongside coffee, the sesame aftertaste becomes more distinct and cuts cleanly through the bitterness of the drink.
Chocolate Chip Cookies
Chocolate chip cookies are the most commonly baked cookie in American home kitchens, and despite a seemingly simple ingredient list the recipe conceals a precise set of variables that separate a good cookie from a great one. The ratio of brown sugar to granulated white sugar is the single most important decision: more brown sugar introduces molasses, which is hygroscopic and holds moisture in the finished cookie, producing a chewy, dense texture; more white sugar encourages the dough to spread in the oven and crisps the edges. Creaming softened butter with the sugars until the mixture turns pale and fluffy incorporates air into the dough, which gives the baked cookie lift and a slightly cakey interior. Chocolate chips, whether semi-sweet, dark, or a mixture, melt during baking and spread into the surrounding dough before re-solidifying as the cookie cools, forming pockets of concentrated chocolate distributed unevenly through each cookie. The moment to pull the tray from the oven is when the edges have set and turned golden while the center still appears underdone and almost raw-looking, because the residual heat of the pan continues to cook the interior as the cookies rest and cool. Pressing flaky sea salt into the surface of each cookie just before baking sharpens all the flavors, making the chocolate taste more chocolatey and the butter taste more buttery. Eaten warm, within minutes of coming out of the oven, a good chocolate chip cookie barely holds together and melts at the edges with the slightest pressure. That fragile, yielding moment is the whole point.
Matcha White Chocolate Brownies
White chocolate melted with butter forms the base of this brownie, and matcha powder folded in at the end gives it a vivid green color and a distinctly bitter tea note. The cocoa butter in the white chocolate is responsible for the dense, fudgy chew that sets these brownies apart from cakey versions, while the matcha's astringency offsets the sweetness so that neither flavor dominates. White chocolate chips added to the batter do not fully melt during baking; they hold their shape partially, creating pockets of concentrated sweetness that punctuate the more restrained matcha base. Baking at 175 degrees Celsius for 22 to 25 minutes, pulling the pan when the center still wobbles slightly, is the key to achieving the chewy interior; the residual heat finishes the set as the brownies cool. Overbaking dries them into crumbly squares and mutes the matcha color. Sifting the matcha powder thoroughly before adding it eliminates the dry clumps that would otherwise appear as bitter spots. Once cooled completely, the brownies cut into clean-edged squares with a glossy top.