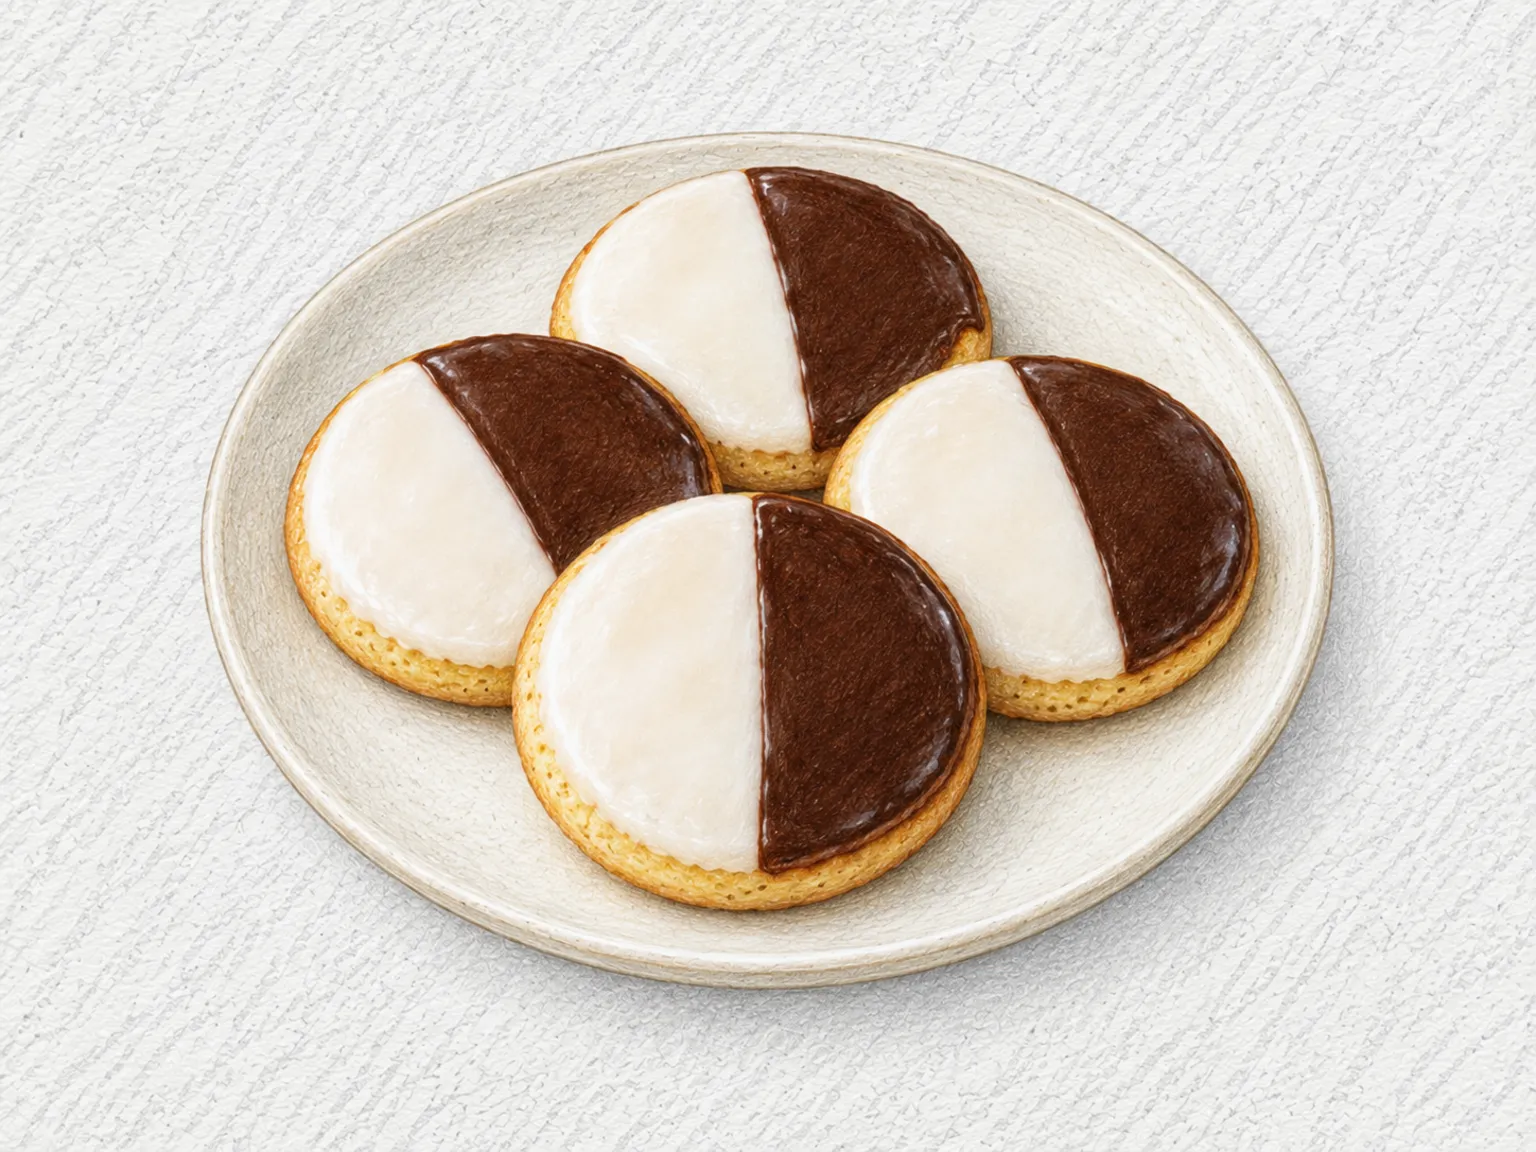
Black and White Cookies
Quick answer
- Total time
- 115 min
- Level
- Medium
- Servings
- 12 servings
- Ingredients
- 18
About this dish
Soft, cakey rounds get vanilla icing on one half and chocolate on the other, spread on the flat underside that touched the pan so the dividing line stays straight.
Read more
Any warmth left in the cookies makes the two colors run together.
Ingredients
Instructions
- 1
Preheat to 205°C and line two large sheet pans.
Beat butter, sugar, salt, baking powder, lemon zest and batter vanilla for 2-3 minutes until evenly creamy.
- 2
Mix in beaten egg in two additions.
Gently alternate flour and milk, beginning and ending with flour, just until incorporated.
- 3
Divide into 12 mounds, 6 per pan, and flatten with damp fingers to 7.5 cm rounds.
Leave 5-6 cm between them. Bake one pan at a time for 10-12 minutes until centers are set and edges barely golden.
- 4
Cool completely on the pans for at least 30 minutes.
Mix the four vanilla icing ingredients until smooth, turn the cookies over and coat half of each flat underside.
- 5
Melt chocolate over a gentle water bath.
Mix chocolate-icing sugar, syrup, water and vanilla, then stir in melted chocolate until smooth.
- 6
Cover the remaining halves with chocolate icing and leave on a rack at least 30 minutes until the surfaces set.
References checked
These references were consulted when this page was prepared or corrected. A source check does not mean the recipe was independently kitchen-tested.
- Black and White Cookies
King Arthur Baking · Checked: 2026-09-26
Use-up ingredient planner
Turn these ingredients into two more meals
The overlap excludes basic seasonings. Open the next recipe and your selected dishes will stay with you.
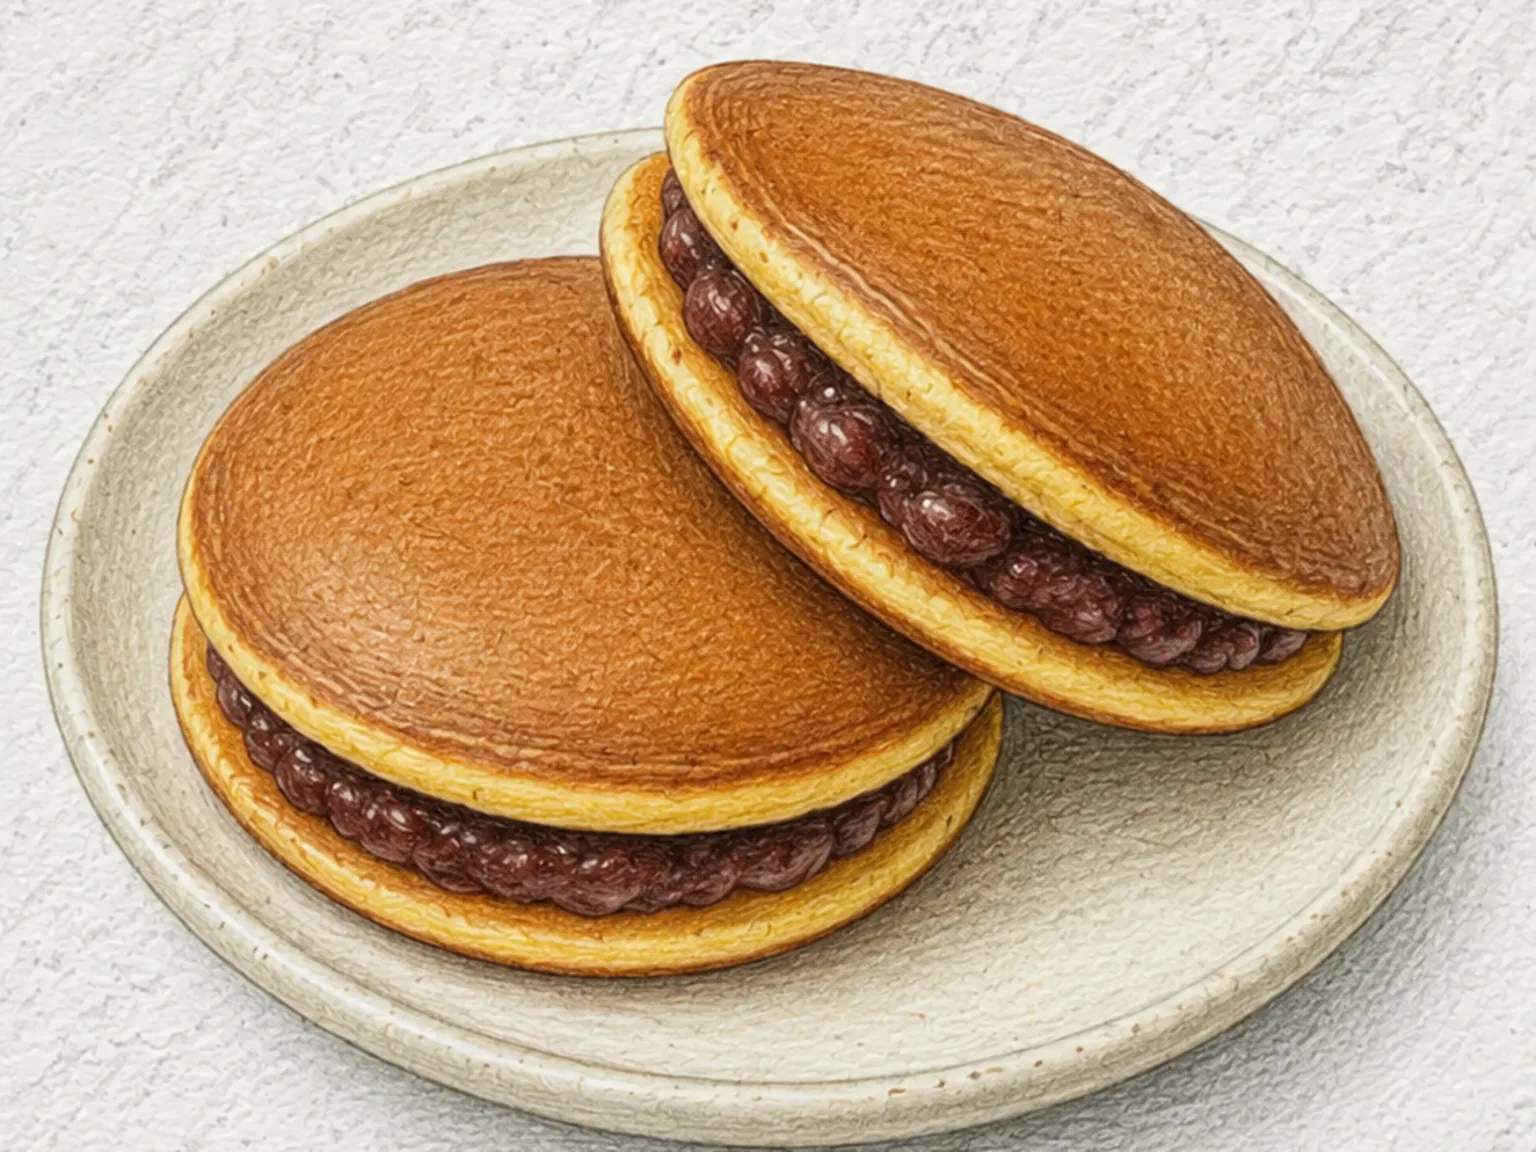
Dorayaki (Sweet Red Bean Pancake Sandwich)
baking powder, all-purpose flour
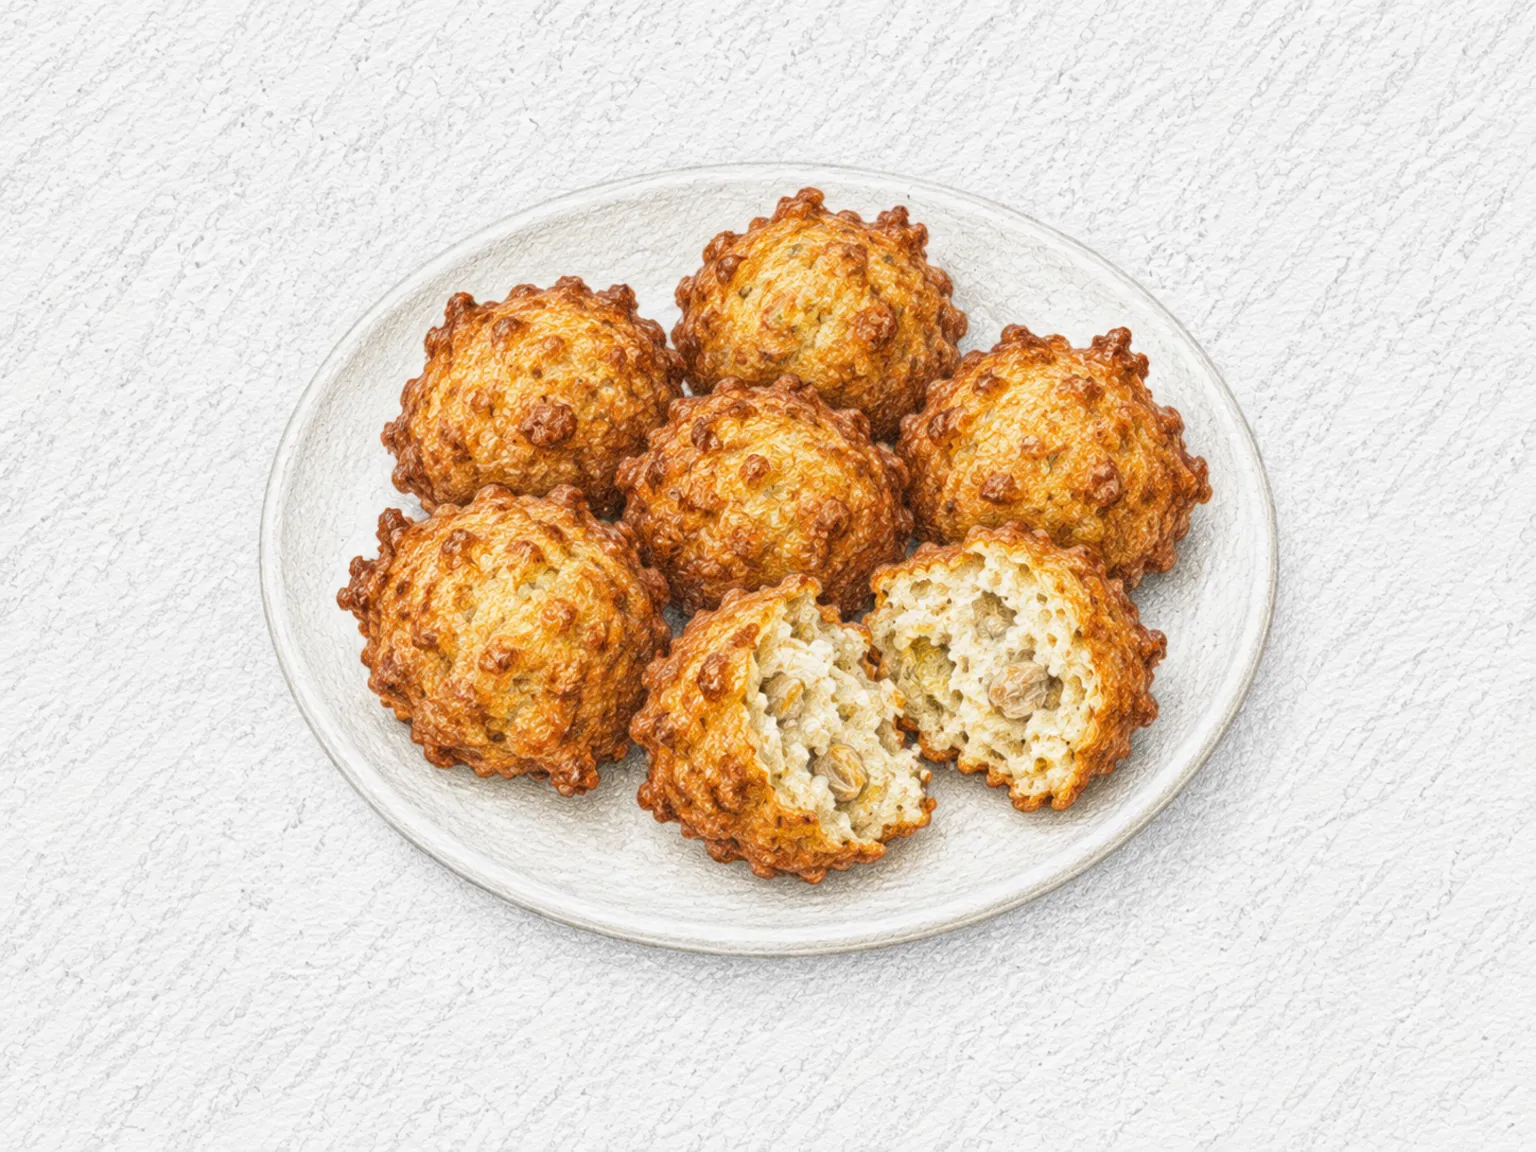
Rhode Island Clam Cakes
baking powder, all-purpose flour
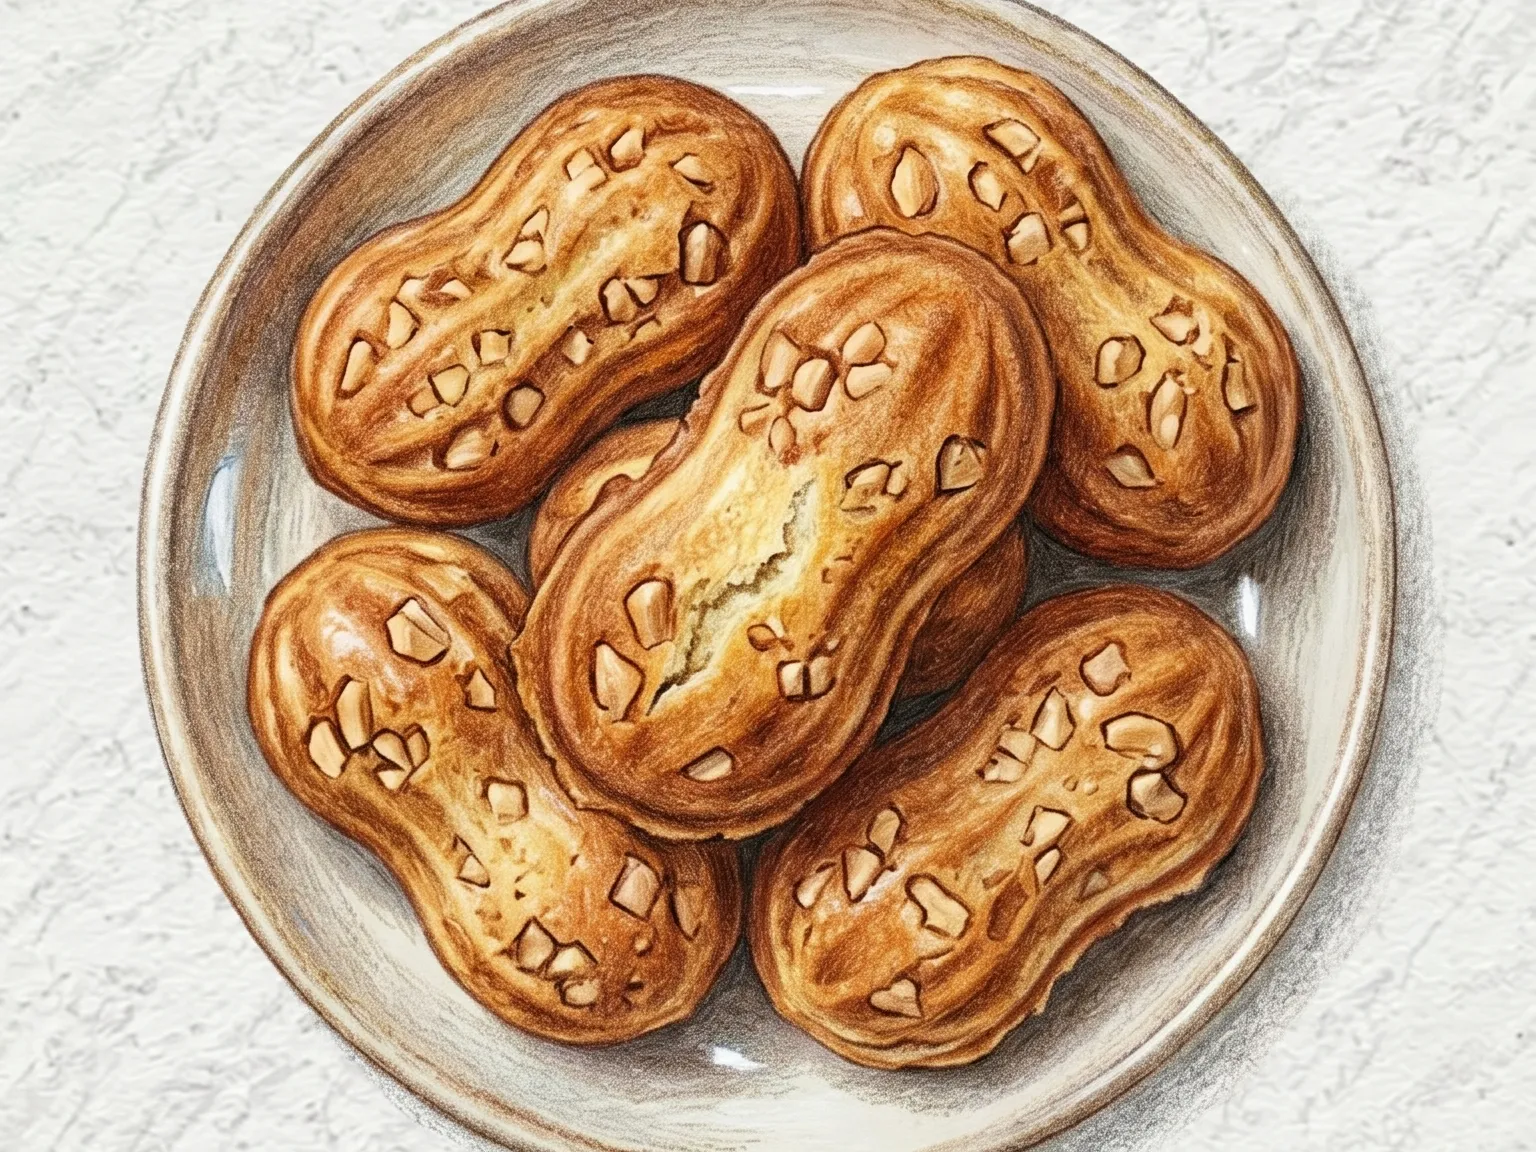
Korean Peanut Bread (Mold-Baked Peanut-Studded Street Snack)
baking powder, all-purpose flour