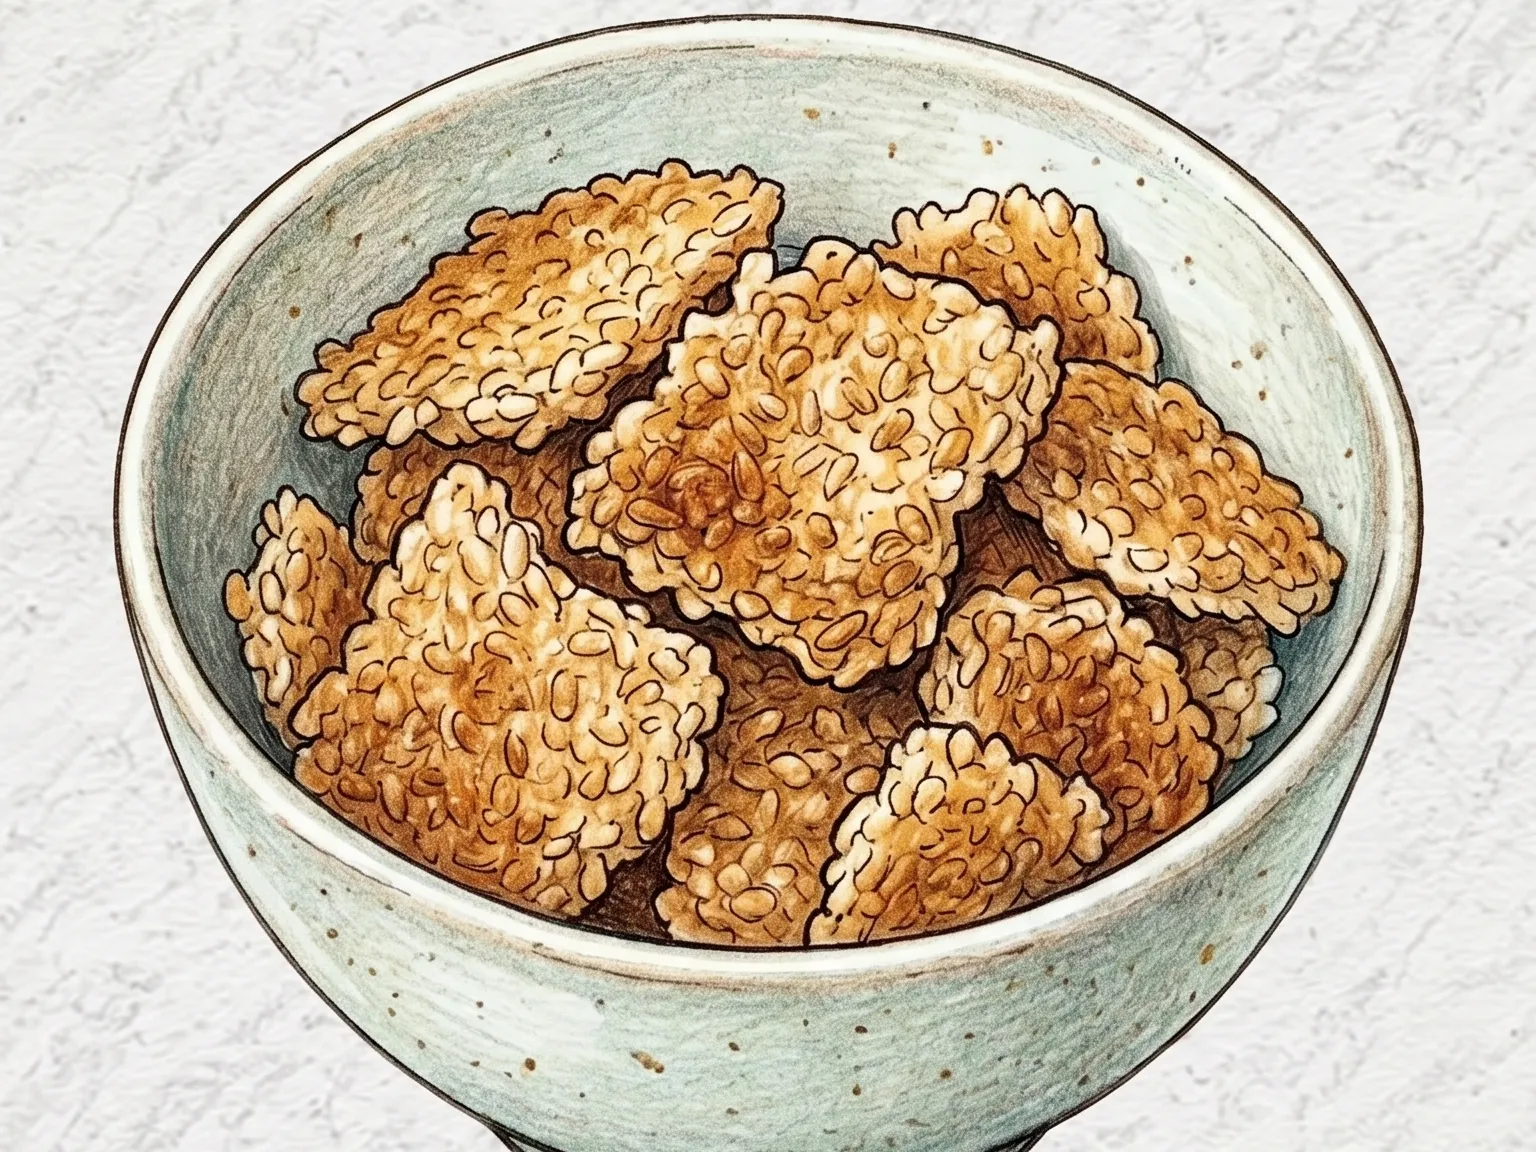
Handmade Scorched Rice
Quick answer
- Total time
- 25 min
- Level
- Easy
- Servings
- 2 servings
- Ingredients
- 2
About this dish
Leftover rice pressed into a thin sheet and toasted slowly over low heat turns into crisp, nutty nurungji.
Read more
Two tablespoons of water sprinkled over the rice act as glue, so the sheet holds together when you flip it. Once cooled and broken up, it is eaten as a snack or simmered in water into sungnyung, a toasty rice drink.
Ingredients
As an Amazon Associate, we may earn from qualifying purchases.
Instructions
- 1
If using cold cooked rice, warm it briefly in the microwave so the grains soften and spread easily.
- 2
Preheat a pan over medium heat for about 1 minute before adding the rice.
- 3
Add 400 g cooked rice to the pan and spread it into a thin, even layer with a spatula.
Press down any thick spots so the sheet cooks evenly and does not stay soft in the center.
- 4
Sprinkle 2 tablespoons of water evenly over the rice.
Press the surface and edges gently so the grains stick together, forming one thin sheet instead of loose clumps.
- 5
Lower the heat to low and cook for 8-10 minutes.
Leave it mostly undisturbed until the edges look dry and the bottom turns golden, which helps prevent tearing when flipped.
- 6
Loosen the edges first with a spatula and check whether the rice releases cleanly.
- 7
If it lifts well, flip it carefully and cook the other side for another 5-10 minutes.
- 8
Turn off the heat when both sides are crisp and evenly toasted.
- 9
Let it cool briefly so it firms up, then break the handmade nurungji into comfortable bite-size pieces.