Baking

Baking Recipes

261 recipes. Page 9 of 11

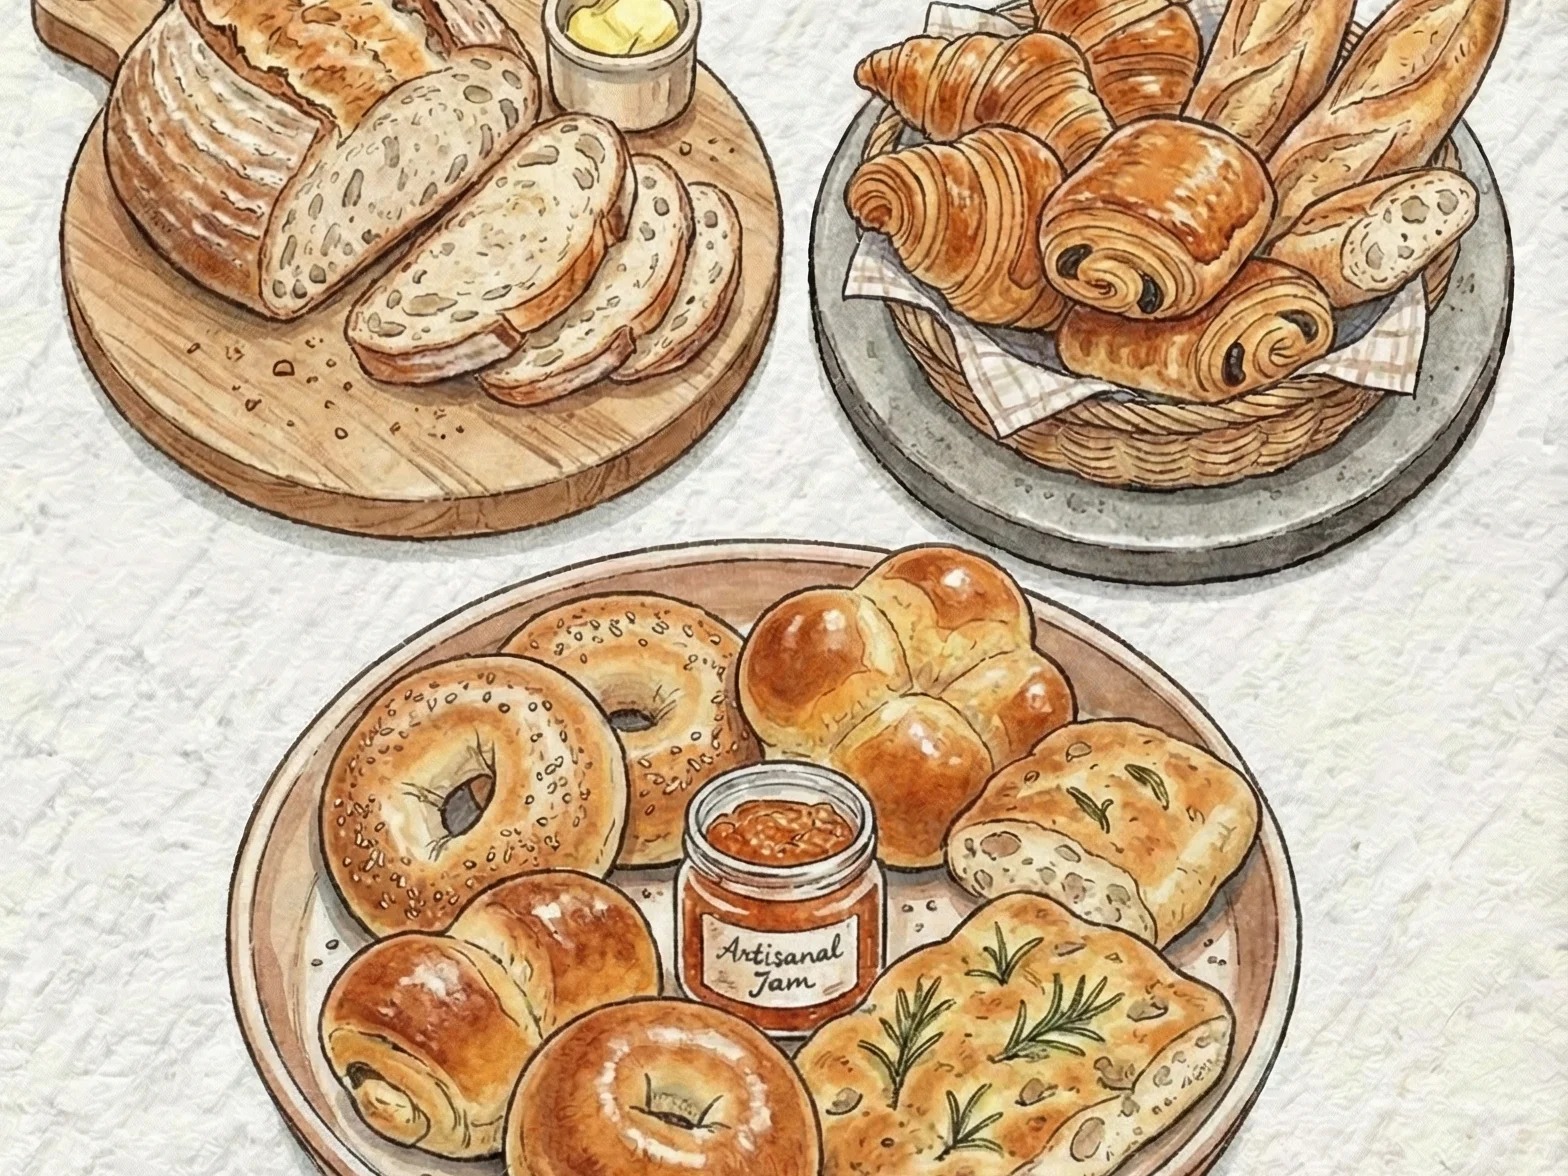
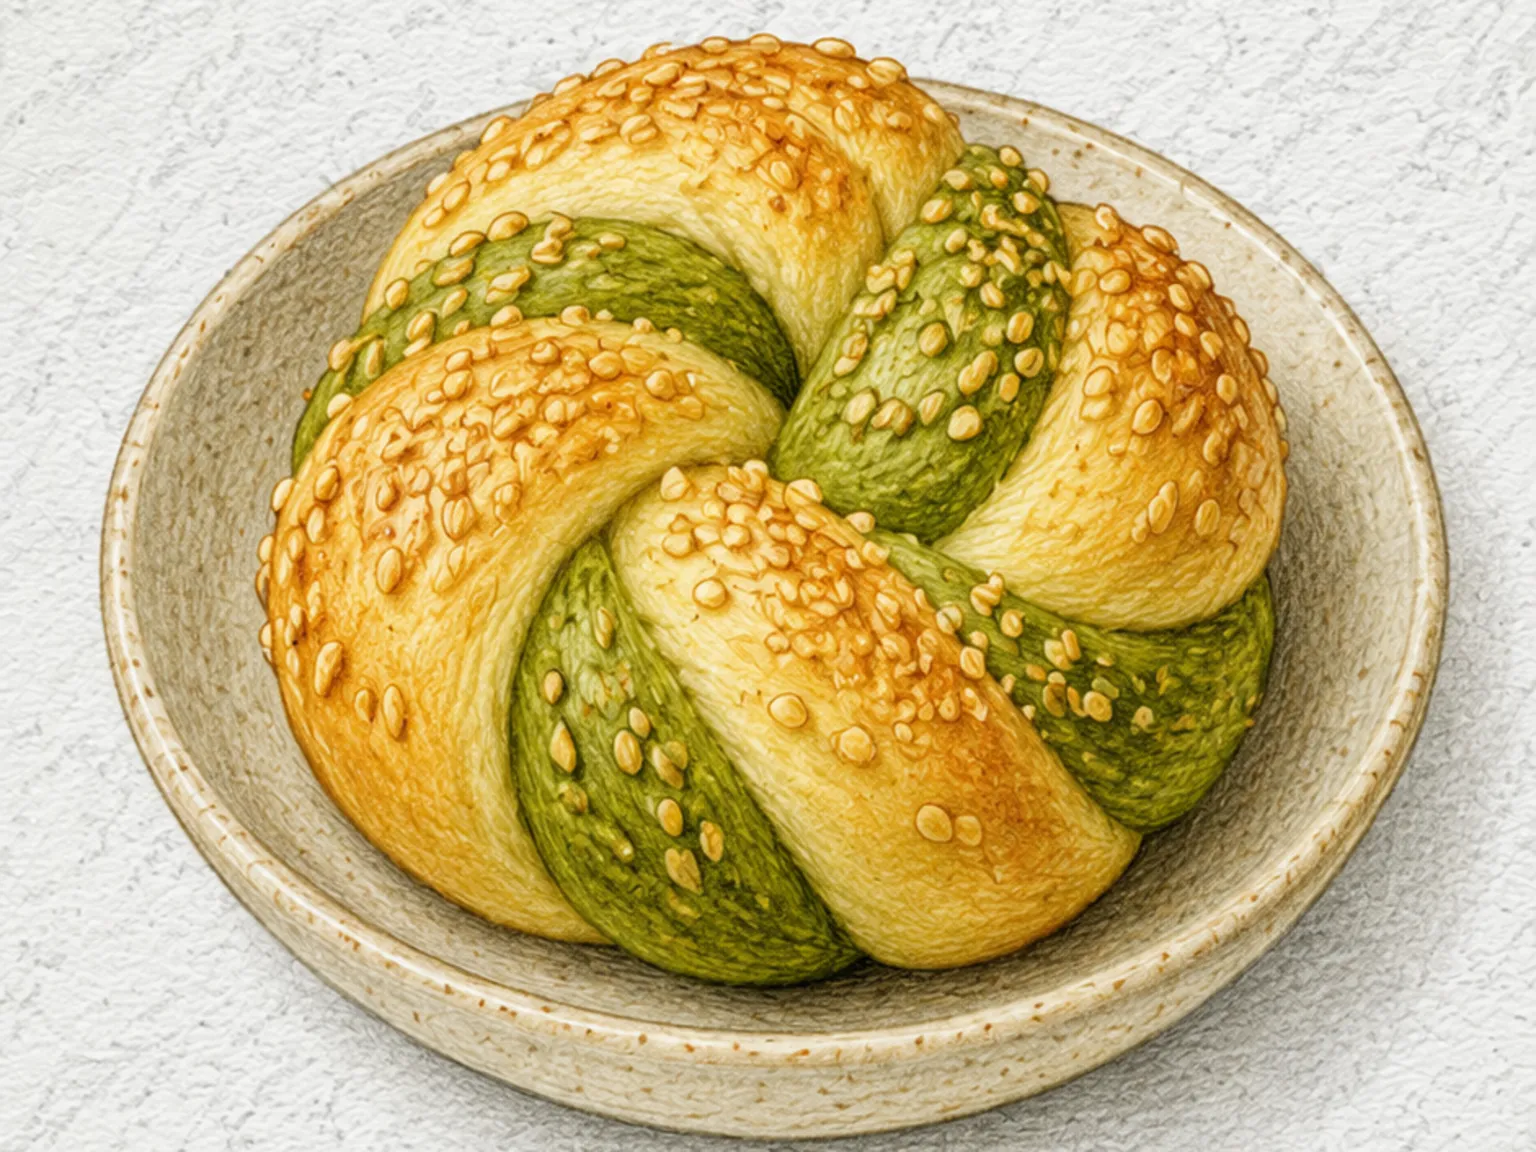
Baking transforms flour, butter, sugar, and eggs into breads, cookies, cakes, muffins, and more. The aroma of something freshly baked is one of the great pleasures of cooking at home.

Baking
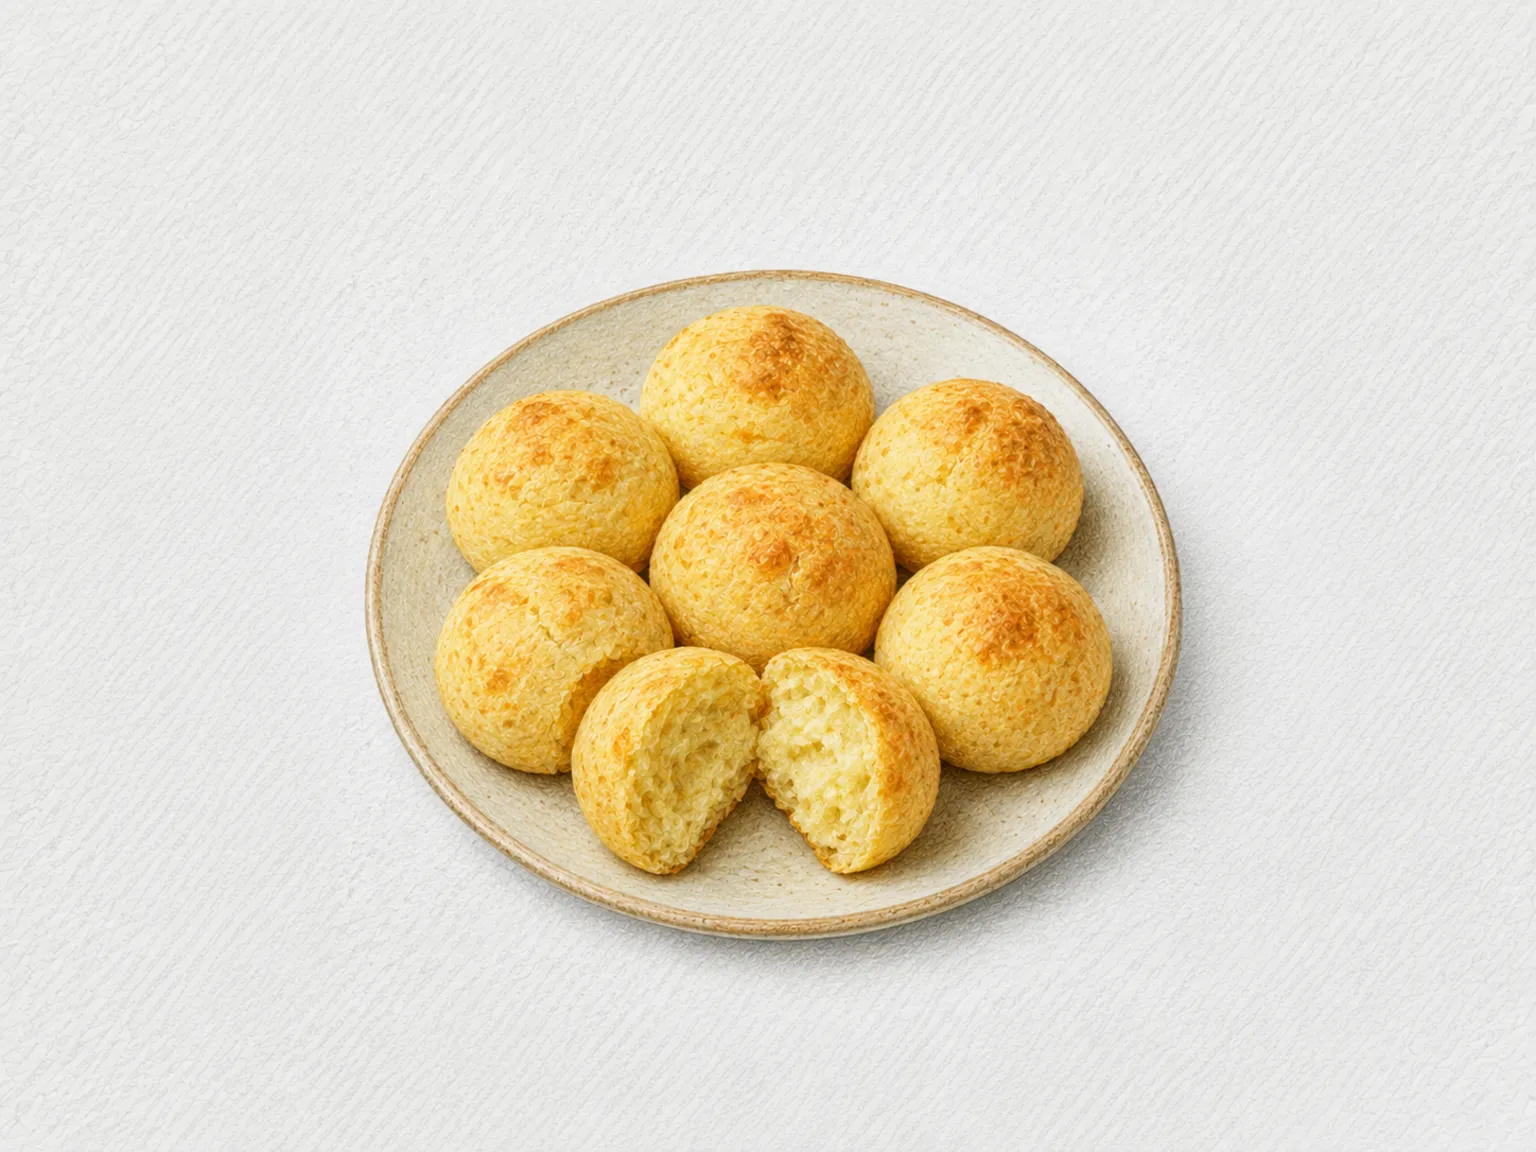
Pandesal Milk Rolls
Baking Medium

Pandesal Milk Rolls

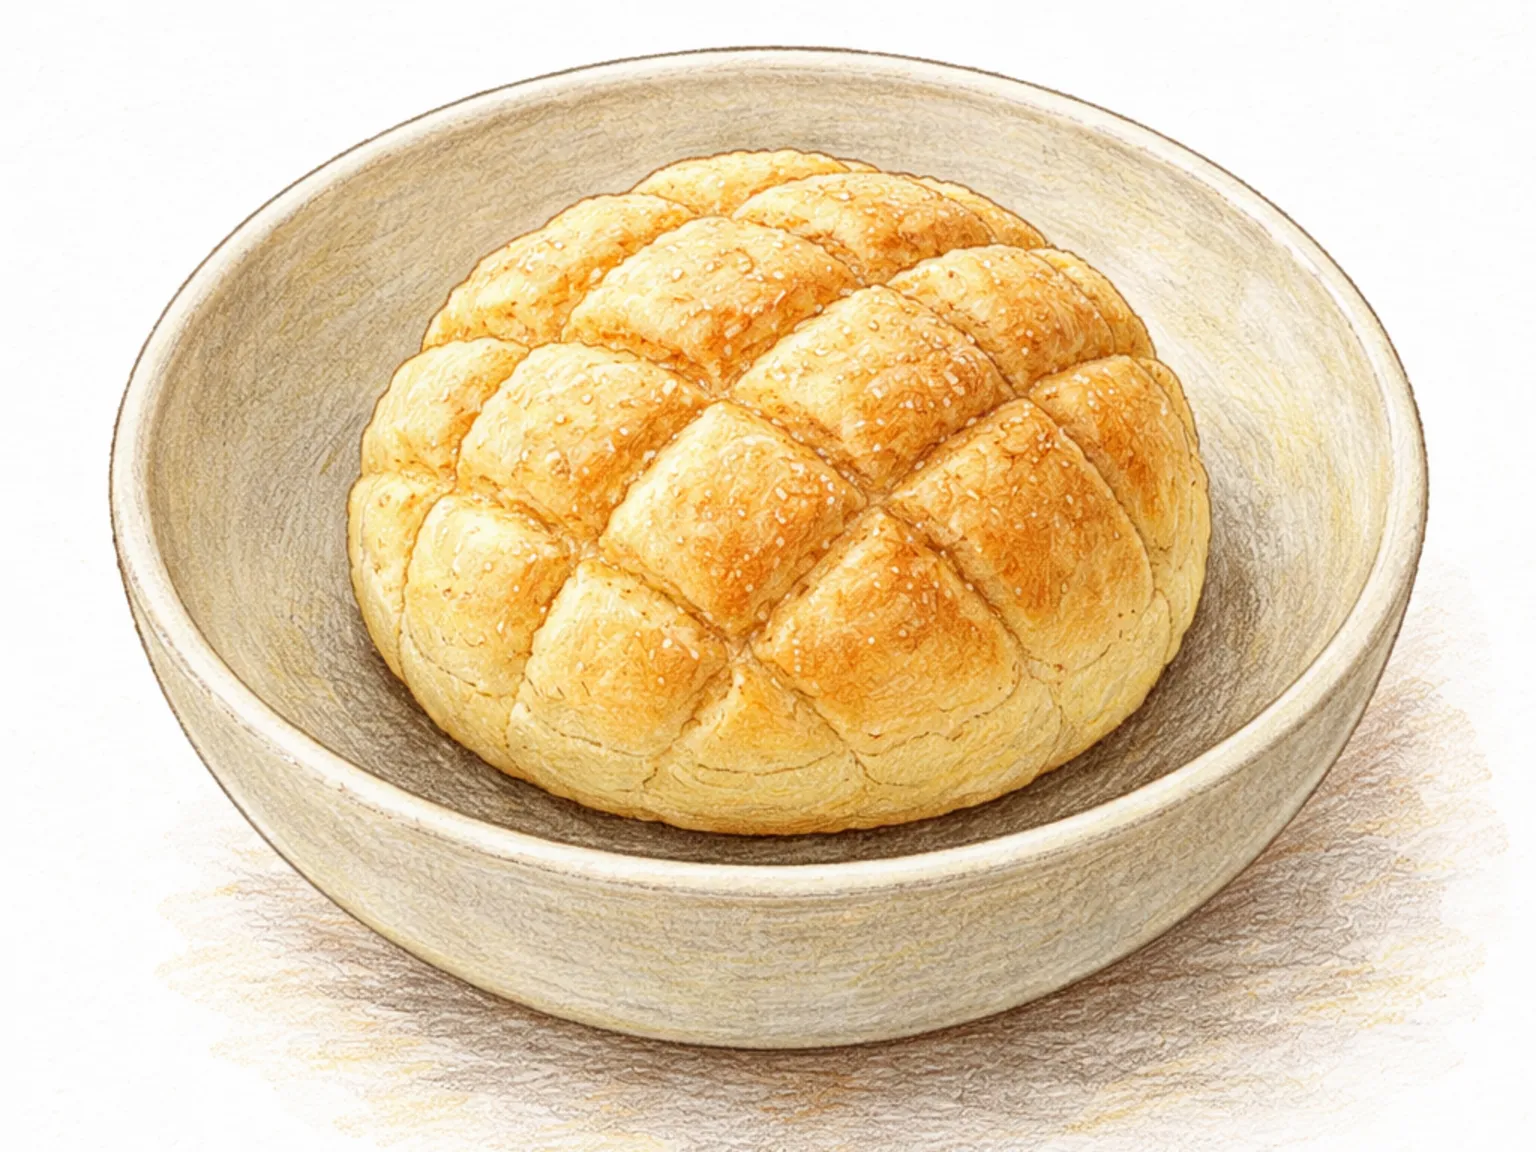
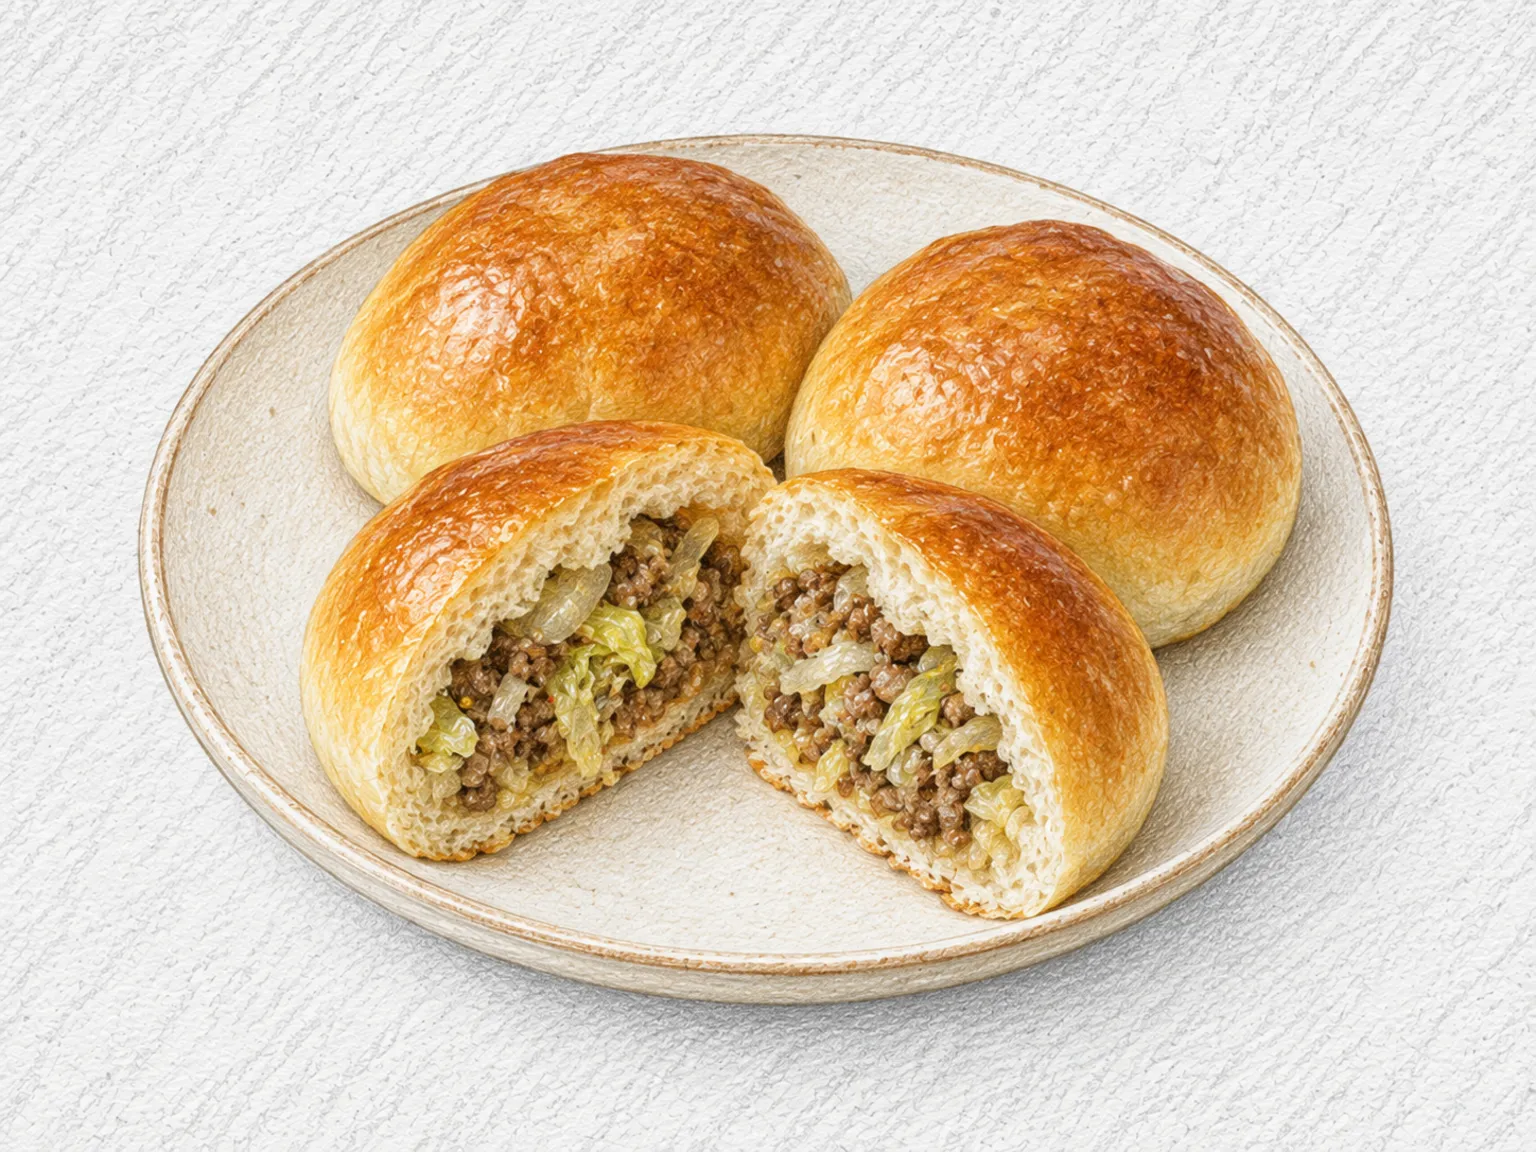
Pandesal milk rolls are small yeast breads made with warm milk and finished with breadcrumbs across their tops. First dissolve the yeast and part of the sugar in the milk and wait for small surface bubbles. Add this mixture and the egg to bread flour combined with the remaining sugar and salt. Once no dry flour remains, work in the unsalted butter in several portions. The dough feels slippery at first but becomes smooth and capable of stretching thin after sufficient kneading. During the first proof, let it double and check that a fingertip indentation returns slowly. Release only excess gas, divide the dough into equal pieces, and round each one with light tension across the surface. Moisten only the tops and apply the breadcrumbs evenly, then leave space between the rolls on the tray for the second proof and oven expansion. Bake until the coating and surface become light golden. After a brief cooling period, cover the rolls with a clean towel as directed. The breadcrumb coating leaves a fine, slightly coarse outer texture, while the milk-and-butter dough tears into a soft interior.

🧒 Kid-Friendly
Prep 35min Cook 18min 4 servings
Pandoro
Baking Hard

Pandoro

Pandoro is an enriched yeast bread made with milk, egg yolks, sugar, vanilla, and a substantial amount of butter. The dough begins with a small sponge of yeast, milk, and 100 g of the bread flour. After 20 minutes, the remaining flour, sugar, salt, yolks, and vanilla are kneaded into that sponge until the mixture develops enough strength to pull away from the bowl. The 130 g of softened butter is then incorporated in three additions. Waiting until each portion disappears into the dough before adding the next keeps loose butter from coating the surface and allows the finished dough to stretch thinly without tearing immediately. The first proof takes place at 26-28°C until the dough is nearly doubled. A fold and a 30-minute chill make the rich, soft dough easier to round tightly before it goes into the star-shaped mold. During the second proof, the dough should rise to about 80 percent of the mold height, leaving room for it to expand in the oven. Baking at 175°C for 35-40 minutes gives the top a deep golden color and sets the tall loaf. Brief cooling in the mold supports the shape, while complete cooling after unmolding prevents the warm crumb from being compressed during slicing.

🎉 Special Occasion 🧒 Kid-Friendly
Prep 45min Cook 40min 4 servings
Panettone
Baking Hard

Panettone

Panettone is a tall enriched bread made by folding 120 g of raisins and 60 g of candied orange peel into a dough containing eggs and butter. The process starts by stirring the dry yeast into the milk and waiting 10 minutes for light foam to appear. That check takes place before the flour is mixed, so weak yeast can be identified before the enriched dough is assembled. Bread flour, sugar, and eggs are combined with the yeast milk until no dry patches remain. The 100 g of softened butter is then added in small portions and kneaded in thoroughly. Once the surface is no longer coated with loose butter and the dough can stretch without tearing easily, the fruit is folded through it without being crushed. Even distribution matters because the raisins and orange peel should remain present across the baked slices rather than collecting in one section. The first proof is judged by increased volume and an indentation that returns slowly after the dough is pressed. After the rounded dough goes into a tall cylindrical mold, it proofs again until the top has risen noticeably. A shallow cross is cut into the surface before the loaf bakes at 175°C for 35-40 minutes. The browned loaf is supported with skewers and suspended upside down until completely cool. Cooling in that position helps the tall, butter-rich bread retain its shape instead of settling at the dome.

🎉 Special Occasion 🧒 Kid-Friendly
Prep 50min Cook 40min 8 servings
Paris-Brest
Baking Hard

Paris-Brest

Paris-Brest is made by piping choux pastry into a ring, baking it with sliced almonds, and filling the cooled shell with hazelnut praline whipped cream. This recipe uses heavy cream and praline paste for the filling rather than a butter-based mousseline. The choux begins when the water and butter reach a full boil and the butter has melted completely. Cake flour is added all at once, then the paste is stirred over low heat for about 2 minutes. A thin film on the bottom of the pan shows that enough moisture has cooked away. The paste is moved to a bowl and allowed to release steam before the eggs are incorporated, since adding them while it is too hot can cook them. The four beaten eggs are added in three or four portions, with the consistency checked after every addition. When the paste falls slowly from the spatula in a V shape, no more egg is needed even if some remains. That stopping point allows the piped ring to hold its outline while still expanding in the oven. Sliced almonds are pressed lightly onto the surface. The ring first bakes at 190°C to puff, then at 170°C until the shell is dry and deeply golden. Only after it has cooled completely is it split and filled with cream whipped to firm peaks, sugar, and hazelnut praline paste. A short chill firms the assembled filling before the pastry is cut.

🎉 Special Occasion 🧒 Kid-Friendly
Prep 45min Cook 40min 6 servings
Pavlova
Baking Medium

Pavlova

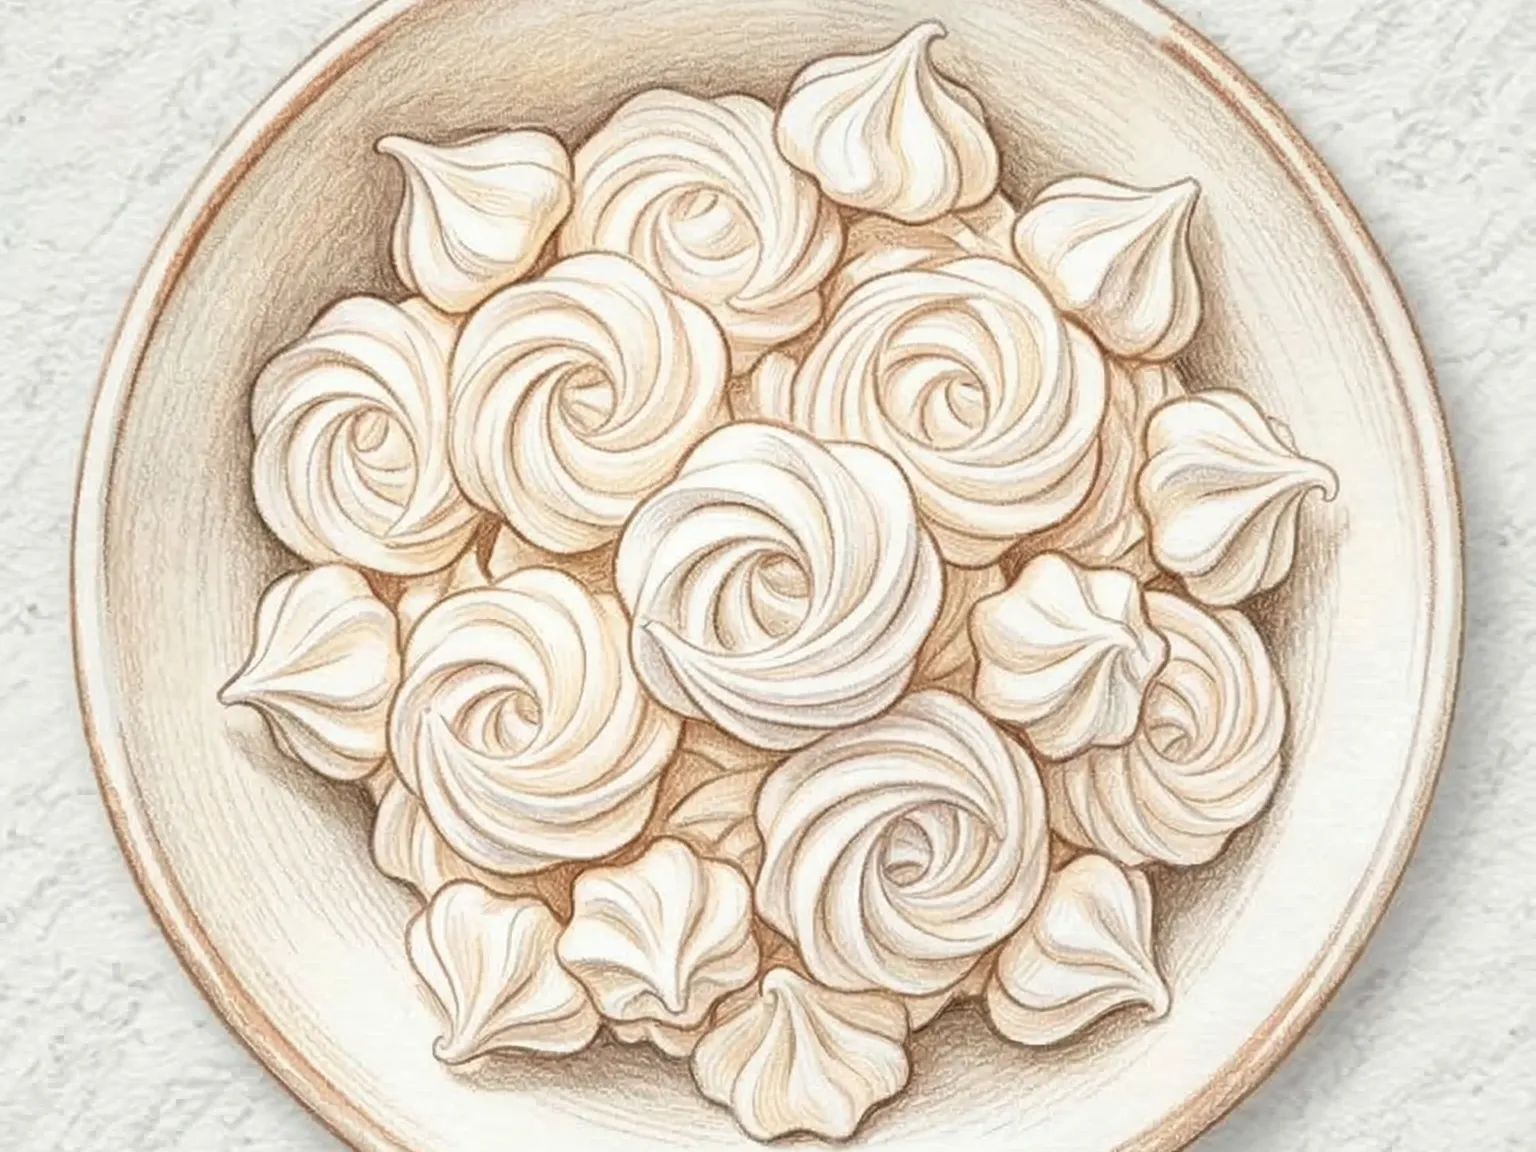
Pavlova is assembled from a low-baked meringue base, softly whipped cream, strawberries, and kiwi. The four egg whites go into a clean, dry bowl with no yolk, water, or grease present. They are beaten on medium speed until white and foamy before the 220 g of sugar is added gradually. The meringue is ready for the remaining ingredients when it looks glossy, feels thick, and holds peaks that do not fold over. One teaspoon each of white vinegar, cornstarch, and vanilla is folded through with broad strokes from the bottom of the bowl. Mixing stops as soon as no streaks remain so the air already incorporated into the whites is retained. The meringue is spread into a round with a shallow depression in the center, which creates a place for the cream and fruit after baking. It spends 1 hour 30 minutes at 100°C, a temperature intended to leave the shell pale while drying the outside. Keeping the oven door closed limits abrupt temperature changes during baking. At the end, the oven is turned off and the base cools completely inside before it is moved or topped. Cold heavy cream is whipped only to soft peaks so it can be spread without pressing hard on the shell. The 200 g of strawberries and two sliced kiwis are added just before serving, limiting the time their juice sits on the meringue.

🎉 Special Occasion 🧒 Kid-Friendly
Prep 20min Cook 90min 8 servings
Peach Cobbler
Baking Easy

Peach Cobbler

Peach cobbler is built from a layer of sliced peaches and a spooned topping made with flour, milk, and melted butter. The 500 g of peaches are cut into pieces that are not too thin, then mixed with part of the sugar and one tablespoon of lemon juice. A 5-minute rest draws out enough juice to taste the fruit before it goes into the baking dish. If the peaches remain notably tart, the instructions allow one additional tablespoon of sugar at this stage. The topping starts with 160 g of cake flour, baking powder, and the remaining sugar. Visible lumps are broken up before the milk and 70 g of melted butter are added. Mixing stops as soon as the dry flour disappears, which avoids repeatedly working the batter after it has come together. Spoonfuls are placed over the fruit with small spaces between them instead of being spread into one sealed layer. Those openings give the peach juices a route to bubble between the portions while the exposed tops brown. The cobbler bakes at 180°C for 35-40 minutes. A golden surface and juices visibly bubbling around the edges are the two doneness cues in this recipe. After removal from the oven, a 10-minute rest lets the hot fruit layer settle before portions are lifted from the dish.

🧒 Kid-Friendly 🎉 Special Occasion
Prep 20min Cook 40min 4 servings
Bae Saenggang Galette (Pear Ginger Galette)
Baking Medium

Bae Saenggang Galette (Pear Ginger Galette)

The construction of this pear and ginger galette involves a roughly shaped circle of buttery pastry dough. Thinly sliced pears are distributed across the surface, after which the outer edges are folded inward to create a rustic, free-form tart. Fresh ginger juice is used to introduce a warm and slightly spicy element that emphasizes the clean sweetness of the fruit without becoming the primary flavor. The addition of brown sugar and ground cinnamon serves to add depth to the fruit filling. To prevent the pastry base from becoming soggy, cornstarch is used to soak up any excess liquid released by the fruit during baking. Throughout the baking process, the visible sections of the crust turn a deep golden brown while the pear slices soften into translucent and jammy layers. If the pears appear to be releasing too much moisture during the preparation phase, the slices can be patted dry before they are arranged on the dough to keep the crust from losing its structure. Maintaining the cold temperature of the butter within the dough is necessary for achieving a flaky texture, so the pastry should be returned to the refrigerator whenever it begins to soften during handling.

🎉 Special Occasion 🧒 Kid-Friendly
Prep 25min Cook 38min 4 servings
Pecan Pie
Baking Medium

Pecan Pie

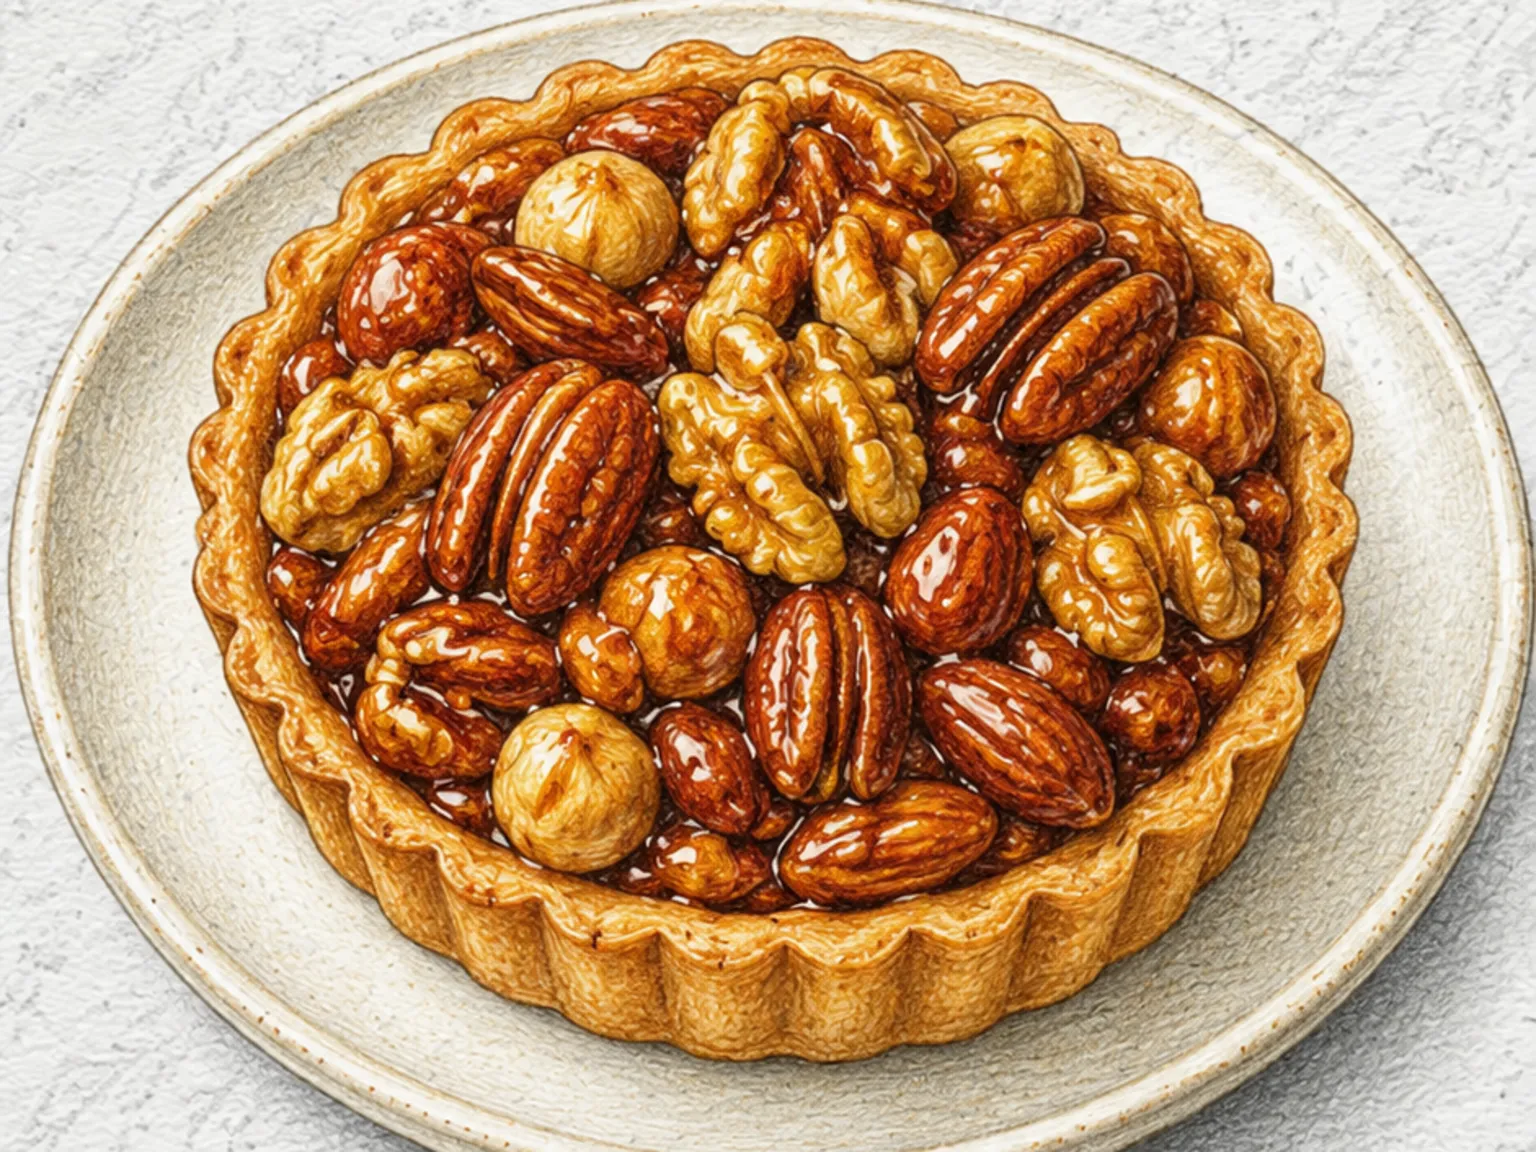
Pecan pie is assembled by spreading pecans in an unbaked pie crust and covering them with a filling of eggs, brown sugar, corn syrup, melted butter, and vanilla. The crust is first pressed firmly against the bottom and sides of the pan so the base lies flat beneath the liquid filling. Three eggs are loosened before 120 g of brown sugar is mixed in until most visible grains have diminished. The 150 ml of corn syrup, 40 g of melted unsalted butter, and one teaspoon of vanilla are then stirred through. The mixture should look even, with no streaks of butter floating across the surface. Mixing without whipping in excessive air also keeps the top from becoming needlessly foamy. The 180 g of pecans are distributed across the crust before the filling is poured slowly, preventing the nuts from being pushed into one side of the pan. Some pecans are nudged back toward the surface after pouring. The pie bakes at 175°C for 45-50 minutes. Its edges should be set while only the center still moves slightly when the pan is disturbed. If the nuts or filling darken too quickly, a loose foil cover protects the surface for the remainder of the bake. The center continues to firm as the pie cools, so complete cooling at room temperature is part of the setting process. Wiping the knife between cuts keeps the syrupy residue from dragging across subsequent slices.

🎉 Special Occasion 🧒 Kid-Friendly
Prep 20min Cook 50min 4 servings
Perilla Honey Muffins
Baking Easy

Perilla Honey Muffins

Perilla honey muffins combine ground perilla seeds with honey, brown sugar, milk, and neutral oil in a quick batter. The dry bowl contains 170 g of all-purpose flour, 30 g of ground perilla, 6 g of baking powder, and 2 g of salt. These ingredients are mixed until their color looks even and any visible flour or perilla clumps have been broken apart. In a separate bowl, one egg is loosened before 110 ml of milk, 55 g of honey, 45 ml of neutral oil, and 35 g of brown sugar are added. Whisking continues until the honey is dispersed through the liquid and the sugar grains have become less prominent. The wet mixture is poured into the dry ingredients all at once. A spatula lifts the batter from the bottom, and mixing stops within 10-12 strokes while a few pale traces remain. This deliberate limit prevents the batter from being repeatedly worked after the ingredients have nearly combined. The mixture is divided among six lined muffin cups, filling each to about 80 percent so there is room above the batter as it rises. A small amount of ground perilla is sprinkled across the tops before the tray goes into a 180°C oven for 20-22 minutes. A skewer inserted into the center should come out without wet batter. The muffins remain in the tray for 5 minutes before they are moved to a rack to finish cooling outside the hot pan.

🧒 Kid-Friendly
Prep 15min Cook 22min 4 servings
Perilla Potato Focaccia
Baking Medium

Perilla Potato Focaccia

Perilla potato focaccia incorporates mashed boiled potato and ground perilla seed into a bread-flour dough, then finishes the surface with garlic and rosemary. The yeast and sugar first rest in 240 ml of water for 5 minutes. During that interval, 120 g of boiled potato is mashed while hot so firm pieces do not remain when it enters the dough. The potato and yeast water are combined with 320 g of bread flour, 6 g of salt, and 18 g of ground perilla. Once the mixture gathers into one mass, half of the olive oil is kneaded in until the surface becomes smooth. The covered dough proofs in a warm place for 60 minutes. Nearly doubled volume and a finger indentation that returns slowly are the readiness cues rather than elapsed time alone. The remaining oil coats the pan before the dough is stretched toward its edges. If the dough resists or begins to tear, a 5-minute rest allows it to relax before stretching resumes. Deep dimples are pressed with oiled fingers, and thin slices from two garlic cloves are placed between them with one tablespoon of rosemary. After a further 20-minute proof, the focaccia bakes at 220°C for 25-30 minutes. A deep golden top and crisp-feeling edges indicate that it is ready to leave the oven. It rests on a rack for 10 minutes before being cut into four pieces.

🧒 Kid-Friendly 🎉 Special Occasion
Prep 30min Cook 30min 4 servings
Persimmon Spice Pound Cake
Baking Medium

Persimmon Spice Pound Cake

Persimmon spice pound cake is a dense, buttery loaf made with finely chopped dried persimmon folded into the batter, scented with cinnamon and nutmeg. The natural sweetness of dried persimmon keeps the sugar level modest while contributing a concentrated, jammy richness to every slice. Chewy morsels of persimmon distributed through the crumb provide bursts of intense dried-fruit flavor amid the buttery cake. Cinnamon and nutmeg give the loaf its warm, autumnal character, making it a natural fit for the cooler months when dried persimmon is most abundant. The batter should be mixed only until the ingredients just come together; overmixing develops excess gluten and produces a tough, dense result rather than the moist, tender crumb the cake depends on. Resting the cake at room temperature for two days allows the spices to fully penetrate the crumb and the dried persimmon to meld with the surrounding butter base, deepening the flavor considerably. The cake pairs naturally with warm tea or black coffee. Slicing and toasting briefly before serving crisps the outer surface and revives the butter fragrance.

🧒 Kid-Friendly 🎉 Special Occasion
Prep 20min Cook 50min 4 servings
Pineapple Upside-Down Cake
Baking Medium

Pineapple Upside-Down Cake

Pineapple upside-down cake is baked with brown sugar and pineapple rings at the bottom of the pan, then inverted so that arranged fruit becomes the top. The six pineapple rings are patted thoroughly dry before they enter the pan. Some of the 140 g of unsalted butter coats the bottom and sides in a thin layer, and 90 g of brown sugar is spread evenly across the base. The rings are placed close together so that large uncovered gaps do not collect the melting sugar and butter in one area. The remaining butter is beaten with 110 g of sugar until the mixture looks lighter and creamy. Two eggs are incorporated one at a time, with each mixed in before the next is added. The 150 g of cake flour and 90 ml of milk are then folded in as alternating additions. Mixing stops as soon as no dry flour remains, avoiding additional work after the batter has come together. The batter is spread gently from the center toward the edges so the pineapple pattern beneath it does not shift. The cake bakes at 175°C for 35-40 minutes. A skewer with no wet batter attached and a set surface indicate that the cake is ready to leave the oven. It cools in the pan for 10 minutes before a knife is run around the perimeter. Placing the serving plate over the pan and turning both together reveals the pineapple and melted brown-sugar layer while the cake is still warm enough to release.

🎉 Special Occasion 🧒 Kid-Friendly
Prep 20min Cook 40min 4 servings
Pissaladiere (Provencal Caramelized Onion Anchovy Tart)
Baking Medium

Pissaladiere (Provencal Caramelized Onion Anchovy Tart)

Pissaladiere needs the full weight of 500 g onions cooked down to a dark, jam-like layer; if the onions remain wet, the thin dough underneath stays soft. Slice the onions very finely, pat 8 anchovy fillets and 12 black olives dry, and preheat the oven to 220C. Warm 2 tablespoons olive oil in a pan, add the onions with 1 teaspoon sugar and part of the thyme, and cook over low heat for the first 10 minutes. Once the onions collapse and release their moisture, continue on low for at least 30 minutes more. Stir frequently, lowering the heat if the bottom begins to catch, until the onions are deep brown, thick, and able to hold together like a spread. Roll 300 g pizza dough thinly, paying particular attention to the center because a thick middle will remain soft beneath the onion topping. Set the dough on a tray and raise the rim slightly. Spread the onion mixture in a generous but even layer. Arrange the anchovies and olives in a lattice so their concentrated saltiness is distributed across each portion, then scatter over the remaining thyme. Extra salt is generally unnecessary. Bake for 12 to 15 minutes, until the rim is crisp and the underside is lightly browned rather than merely dry on top. Let the tart settle briefly after it leaves the oven, then slice with a firm downward cut so the onion layer and anchovy pattern remain on the crust.

🍺 Bar Snacks 🎉 Special Occasion
Prep 25min Cook 35min 4 servings
Pizza Dough
Baking Easy

Pizza Dough

Pizza dough starts with 300 g of bread flour, instant yeast, salt, sugar, water, and olive oil. The flour, sugar, salt, and yeast are mixed evenly before 195 ml of water and 15 ml of olive oil are added. The mixture is gathered until no dry flour remains, then moved to the work surface for 5-8 minutes of kneading. A smooth surface and an indentation that returns slowly after a finger press are the stated cues for stopping. If the dough is excessively sticky, only a small dusting of bread flour is used so the original balance is not changed more than necessary. The rounded dough goes into a bowl and is covered to keep the surface from drying during an approximately 1-hour room-temperature proof. It is ready to divide when the volume is nearly doubled and a pressed mark relaxes slowly. The instructions also provide a cold-fermentation option: at this stage, the covered dough can be refrigerated until the following day instead of being shaped immediately. Before baking, the oven is fully preheated to 250°C or its highest available setting. The dough is divided into two pieces and each is stretched to roughly 30 cm without flattening the rim heavily. After toppings are added, the pizzas bake for 10-12 minutes. A firm base and a puffed, browned edge are the removal cues, followed by a brief rest before slicing.

🧒 Kid-Friendly 🌙 Late Night
Prep 15min Cook 12min 2 servings
Portuguese Egg Tart
Baking Medium

Portuguese Egg Tart

Portuguese egg tarts pair chilled puff-pastry cups with a custard made from milk, cream, egg yolks, sugar, cornstarch, and vanilla. The 250 g of puff pastry is rolled thin, cut into circles large enough for the muffin cups, and pressed firmly against each bottom and side. The lined tin is chilled while the filling is prepared so the pastry remains cold before baking. For the custard, 200 ml of milk, 100 ml of heavy cream, and 90 g of sugar are heated over medium-low heat. Once steam appears around the edge, the mixture is kept below a hard boil. The 12 g of cornstarch is first dissolved in a small portion of the warm liquid, then whisked back into the pan to avoid dry starch clumps. After 1-2 minutes of constant stirring, the mixture should coat a spoon only lightly rather than becoming a thick paste. The pan is removed from the heat before four egg yolks and one teaspoon of vanilla are whisked in quickly. Passing the custard through a fine sieve removes egg strands and any small lumps before it reaches the pastry. The cold cups are filled with room left at the top so the custard does not overflow as it bakes. In an oven fully preheated to at least 230°C, the tarts bake for 15-18 minutes. Brown spots on the surface and centers that still move slightly are the stated removal cues. The custard finishes setting as the tarts cool.

🧒 Kid-Friendly 🎉 Special Occasion
Prep 25min Cook 20min 4 servings
Pumpkin Pie
Baking Medium

Pumpkin Pie

Pumpkin pie is made by pouring a filling of pumpkin puree, cream, eggs, brown sugar, cinnamon, and nutmeg into a prepared pie crust. The crust is pressed firmly into the dish and its base is pricked closely with a fork before the filling is mixed. The process begins by loosening 420 g of pumpkin puree with 110 g of brown sugar until visible sugar lumps have disappeared. Two eggs are added one at a time and stirred gently so the mixture does not accumulate excessive foam. Next come 180 ml of heavy cream, two teaspoons of ground cinnamon, and one teaspoon of ground nutmeg. Mixing continues only until the filling looks smooth and the spices are evenly dispersed. It is poured slowly into the crust to limit large pockets of air at the bottom, and the surface is leveled with a spatula. Any filling on the rim is wiped away before baking. The pie spends its first 15 minutes at 190°C, then about 35 minutes at 170°C. It is removed when the outer area is set and the center still moves slightly. Cooling completely at room temperature allows residual heat to continue setting that center. The recipe then chills the pie overnight before slicing it cold. This sequence gives the soft filling time to firm before a knife passes through it, rather than asking the warm center to hold a cut immediately after baking.

🎉 Special Occasion 🧒 Kid-Friendly
Prep 25min Cook 50min 8 servings
Queen of Puddings
Baking Medium

Queen of Puddings

Queen of Puddings is assembled in three stages: a baked breadcrumb and egg-yolk base, a layer of raspberry jam, and a topping of meringue. The three eggs are separated at the beginning, with the whites reserved in a completely clean, dry bowl. The 450 ml of milk is warmed over medium-low heat until steaming but not boiling. Off the heat, 25 g of butter and part of the 110 g of sugar are dissolved into the milk. The 80 g of breadcrumbs then soak in that liquid for 5 minutes. Allowing the mixture to lose some heat before the yolks are added prevents the eggs from immediately forming cooked pieces. The base is poured into a baking dish and baked for about 20 minutes, until its edges are set while the center still moves slightly. Four tablespoons of raspberry jam are stirred until spreadable and smoothed into a thin layer over the baked surface. The reserved whites are whipped while the remaining sugar is added gradually, stopping at glossy, stiff peaks. This meringue is spread all the way to the edges so the jam is covered, and a spoon lifts peaks across the top. A second bake of 12-15 minutes gives those peaks and the surrounding surface a golden color. The pudding rests briefly after leaving the oven, and portions are spooned deeply enough to pass through the meringue, jam, and breadcrumb base together.

🎉 Special Occasion 🧒 Kid-Friendly
Prep 25min Cook 35min 4 servings
Quiche Lorraine
Baking Medium

Quiche Lorraine

Quiche Lorraine avoids a soggy base through two preparations completed before the custard is poured: blind-baking the crust and thoroughly draining the rendered bacon fat. Preheat the oven to 190C and press 1 pie crust firmly into the corners of a tart pan. Prick the base evenly with a fork so it does not puff away from the tin. Blind-bake it for 10 minutes, removing it when the edges look dry and lightly colored, then let it cool briefly. Cook 140 g bacon slowly in a skillet over medium heat until its fat renders and the pieces turn crisp. Drain the bacon well; carrying excess fat into the tart would make the custard heavy and greasy. In a bowl, gently combine 3 eggs, 200 ml heavy cream, 80 ml milk, and 1/2 teaspoon salt. Mix only until smooth, avoiding a cap of bubbles that would bake into an uneven surface. Spread the drained bacon and 90 g Gruyere evenly over the cooled crust. Pour in the custard slowly so it fills the spaces around the cheese and bacon instead of displacing them, then bake for about 30 minutes. Do not wait for the center to become rigid. Remove the quiche when the edges are set but the middle still gives a slight jiggle. Rest it in the pan for 10 minutes; residual heat completes the set without drying the filling. Slice with a clean knife after that pause to preserve both the crisp pre-baked bottom and the soft, even custard.

🎉 Special Occasion 🍱 Lunchbox
Prep 20min Cook 40min 4 servings
Red Bean Baked Doughnuts
Baking Easy

Red Bean Baked Doughnuts

Red bean baked doughnuts are made by enclosing chilled sweet red bean paste inside a cake-flour batter and baking the filled rings in a doughnut pan. The 140 g of paste stays refrigerated while the rest of the recipe is prepared. For the dry mixture, 180 g of cake flour, 6 g of baking powder, and 70 g of sugar are sifted together, then whisked briefly so the leavening is not concentrated in one area. A separate bowl holds one egg, 150 ml of milk, 45 g of melted unsalted butter, and 2 ml of vanilla. The melted butter is allowed to become lukewarm before it reaches the egg, avoiding direct contact between a hot liquid and the raw egg. The wet mixture is poured into the dry ingredients and folded from the bottom with a spatula. Mixing stops as soon as no dry flour remains rather than continuing to beat a batter that has already combined. Each cavity in the doughnut pan is filled about halfway before a portion of cold red bean paste is placed in the center. Keeping that paste away from the edges gives the remaining batter room to cover it on every side. More batter is spooned over until the filling is no longer visible. The doughnuts bake at 180°C for 12-15 minutes. Lightly golden tops that return after a gentle press are the readiness cues. They remain in the pan for 5 minutes, which gives the baked rings time to settle before they are unmolded and transferred to a rack to cool completely.

🧒 Kid-Friendly
Prep 20min Cook 15min 4 servings
Red Bean Butter Macarons (Almond Shells with Red Bean Cream)
Baking Hard

Red Bean Butter Macarons (Almond Shells with Red Bean Cream)

This recipe offers a Korean twist on French macarons, combining almond meringue shells with a filling of sweet red bean paste and softened butter. The process starts by sifting almond flour and powdered sugar twice to ensure smooth tops. Egg whites are whipped with sugar to form firm, glossy peaks. During macaronage, the dry ingredients are folded into the meringue until the batter falls in smooth ribbons, which is essential for developing the characteristic ruffled foot. The filling blends unsalted butter, red bean paste, and milk into a smooth cream. Once assembled, the macarons require a full day of resting in the refrigerator. This maturation period allows the shells to absorb moisture from the cream, developing a chewy interior. On humid days, extending the shell drying time by ten minutes helps prevent cracking during baking.

🎉 Special Occasion 🧒 Kid-Friendly
Prep 40min Cook 16min 4 servings
Red Velvet Cake
Baking Medium

Red Velvet Cake

Red velvet cake is an American layer cake defined by its bright crimson interior and its covering of tangy cream cheese frosting. The frosting serves to balance the sweetness of the cake layers. The batter is prepared with a small amount of cocoa powder, which provides depth to the flavor without making the cake taste like a typical chocolate dessert. Buttermilk is included in the recipe to provide a mild lactic acidity that adds complexity to the overall taste. Instead of using butter as the primary fat source, vegetable oil is used to create a moist sponge that remains soft for several days after it has been baked. The fine, velvety texture of the crumb is produced by a specific chemical reaction between baking soda and white vinegar. This reaction generates small air bubbles throughout the batter during the baking process. The frosting is made by beating cold cream cheese with butter and powdered sugar until it reaches a consistency thick enough to stay in place between the layers without sliding. The visual appeal of the cake comes from the sharp contrast between the deep red crumb and the white frosting, which is revealed when the cake is sliced. This appearance has made the cake a common choice for various celebrations. If a more natural appearance is preferred, beet powder can be used as a substitute for food coloring to create a more subdued shade of red.

🎉 Special Occasion 🧒 Kid-Friendly
Prep 25min Cook 30min 12 servings
Rosemary Focaccia
Baking Medium

Rosemary Focaccia

Rosemary focaccia is an Italian olive-oil bread made from a high-hydration dough that is proofed twice, dimpled with fingertips, topped with rosemary, minced garlic, and flaky salt, and baked at 220 degrees Celsius. The wetter the dough, the better the signature open crumb and chewy interior develop, so resisting the urge to add extra flour during handling is important. A sixty-minute first proof followed by a thirty-minute second proof gives the yeast enough time to produce the gas that creates a light, airy structure. Generous olive oil pooled in the dimples essentially fries the surface during baking, creating crisp pockets across the top. Cooling for ten minutes after baking lets steam escape and sharpens the contrast between the crunchy crust and the moist, pillowy crumb inside.

🍺 Bar Snacks 🎉 Special Occasion
Prep 20min Cook 25min 4 servings
Rosemary Garlic Grissini
Baking Medium

Rosemary Garlic Grissini

Rosemary garlic grissini are thin breadsticks made by kneading minced garlic and chopped rosemary into a yeasted bread-flour dough. The dry mixture contains 220 g of bread flour, 4 g of instant yeast, and 4 g of salt. Before the 25 ml of olive oil is added, a small portion is reserved for brushing the shaped sticks; the remainder enters the dough with 130 ml of water. After about 8 minutes of kneading, the dough should have gathered into a smoother mass. Eight grams of minced garlic and 3 g of chopped rosemary are then worked through it for one additional minute so they do not remain in one section. The covered dough proofs in a warm place for 40 minutes. Slightly increased volume and a fingertip mark that returns slowly are the readiness cues. The dough is rolled flat and cut into strips 1 cm wide. Pieces that are noticeably thinner or thicker are separated on the tray so the narrow ones can be checked without assuming every stick will finish at the same moment. Each strip is held at both ends and twisted gently before being set on the tray. The reserved olive oil is brushed thinly over the surfaces, and 20 g of Parmesan is distributed across them. Baking takes 15-18 minutes at 200°C. Deep golden edges and a firm feel when lifted indicate that the grissini are ready. They cool completely before being placed in a container, preventing residual steam from being trapped around the freshly baked sticks.

🍺 Bar Snacks
Prep 30min Cook 18min 4 servings
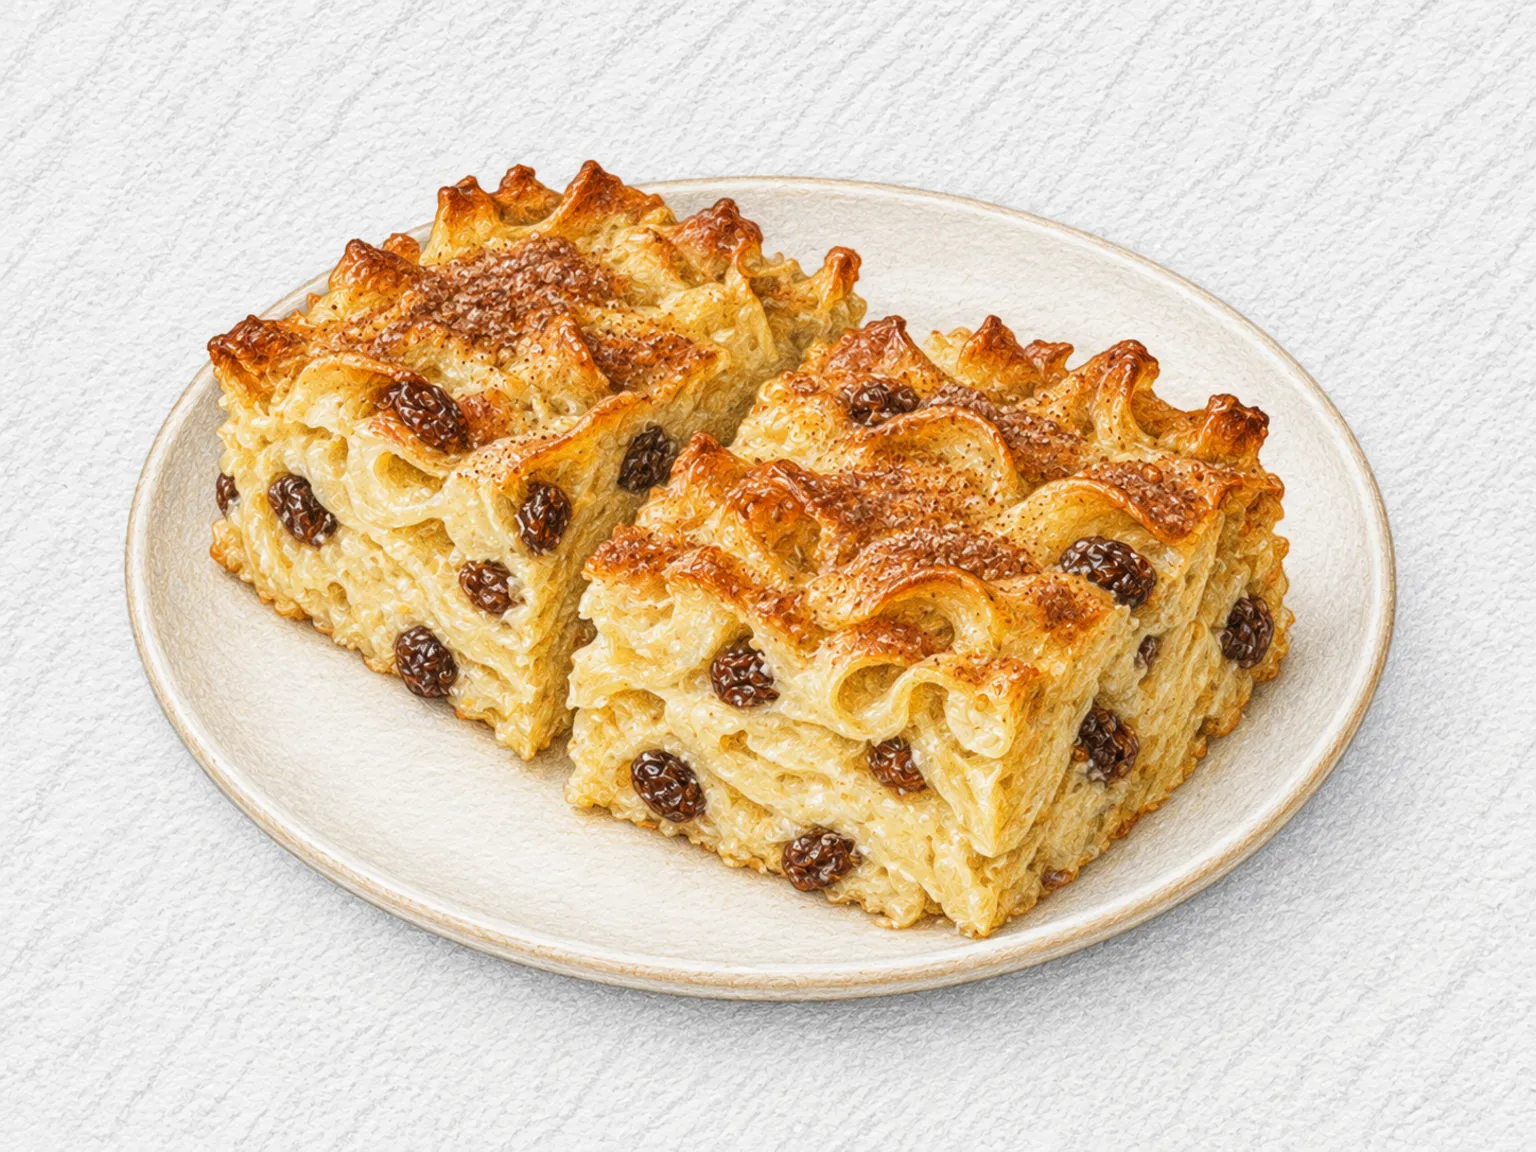
Rugelach (Jewish Cream Cheese Crescent Pastry)
Baking Medium

Rugelach (Jewish Cream Cheese Crescent Pastry)

Rugelach are crescent-shaped pastries from the Jewish baking tradition, made with a cream cheese dough that is rolled into a circle, spread with apricot jam, and scattered with chopped walnuts, sugar, and cinnamon before being cut into wedges and rolled from the wide end to the tip. The cream cheese gives the dough a slight tang and an unusually tender crumb, while the butter in the mix creates flaky layers as moisture escapes during baking. Each small pastry delivers a concentrated burst of flavor - the fruit acidity of the jam, the oily richness of walnuts, and the warm spice of cinnamon all arriving together. The dough must be kept cold throughout the shaping process; if it warms and softens, the pastries lose their defined spiral and become difficult to handle. A thin layer of jam is essential - too much causes it to bubble out of the seams and burn on the pan. Once baked and cooled, the exterior is crisp and golden while the interior remains slightly chewy where the filling has caramelized against the dough.

🧒 Kid-Friendly
Prep 30min Cook 22min 4 servings

About Baking

Precise measurements are the key to successful baking. Each recipe here includes detailed ingredient ratios and oven temperatures, so even beginners can achieve consistent results. From simple scones to layered cakes, this collection covers a wide range of baking projects.